
EARLY DAYS
A little used method that can be a smooth-running joy to use when you get it right, turning into a tangle-prone nightmare when it goes wrong, must be the slider. I’m talking about semi-loaded, big-bodied peacock wagglers, which are the floats I use for deep water fishing. I know there are modern versions with fibreglass stems and fancy design features, but it’s best to get the basics right first. My early acquaintance with the slider came about when I used to fish the West of Ireland a lot, where top local anglers like my mate Cathal Hughes had perfected the method for the deep Irish loughs over there. He took it very seriously, having several groundbait catapults marked up with their comfortable firing distances, so he could marry them to the size of the slider he was using. The trick was to put a ball of feed over the float almost every cast. It was an attacking approach, but that was often the best way in deep and generally vast stillwaters.
RIGHT FLOATS

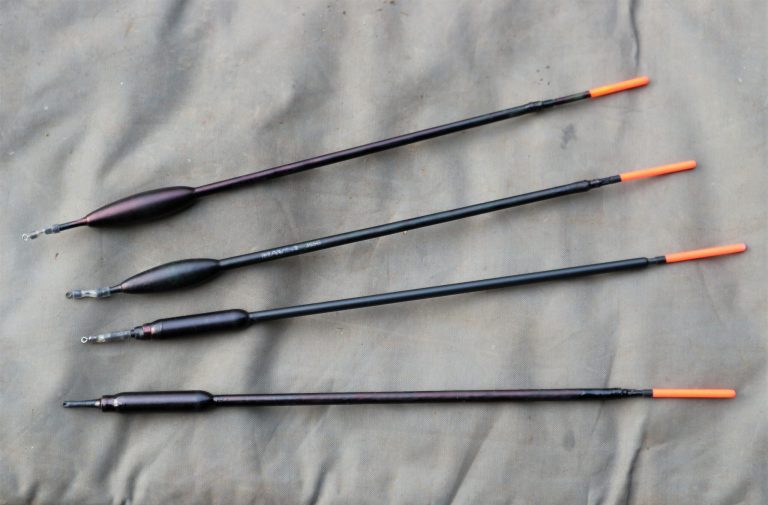
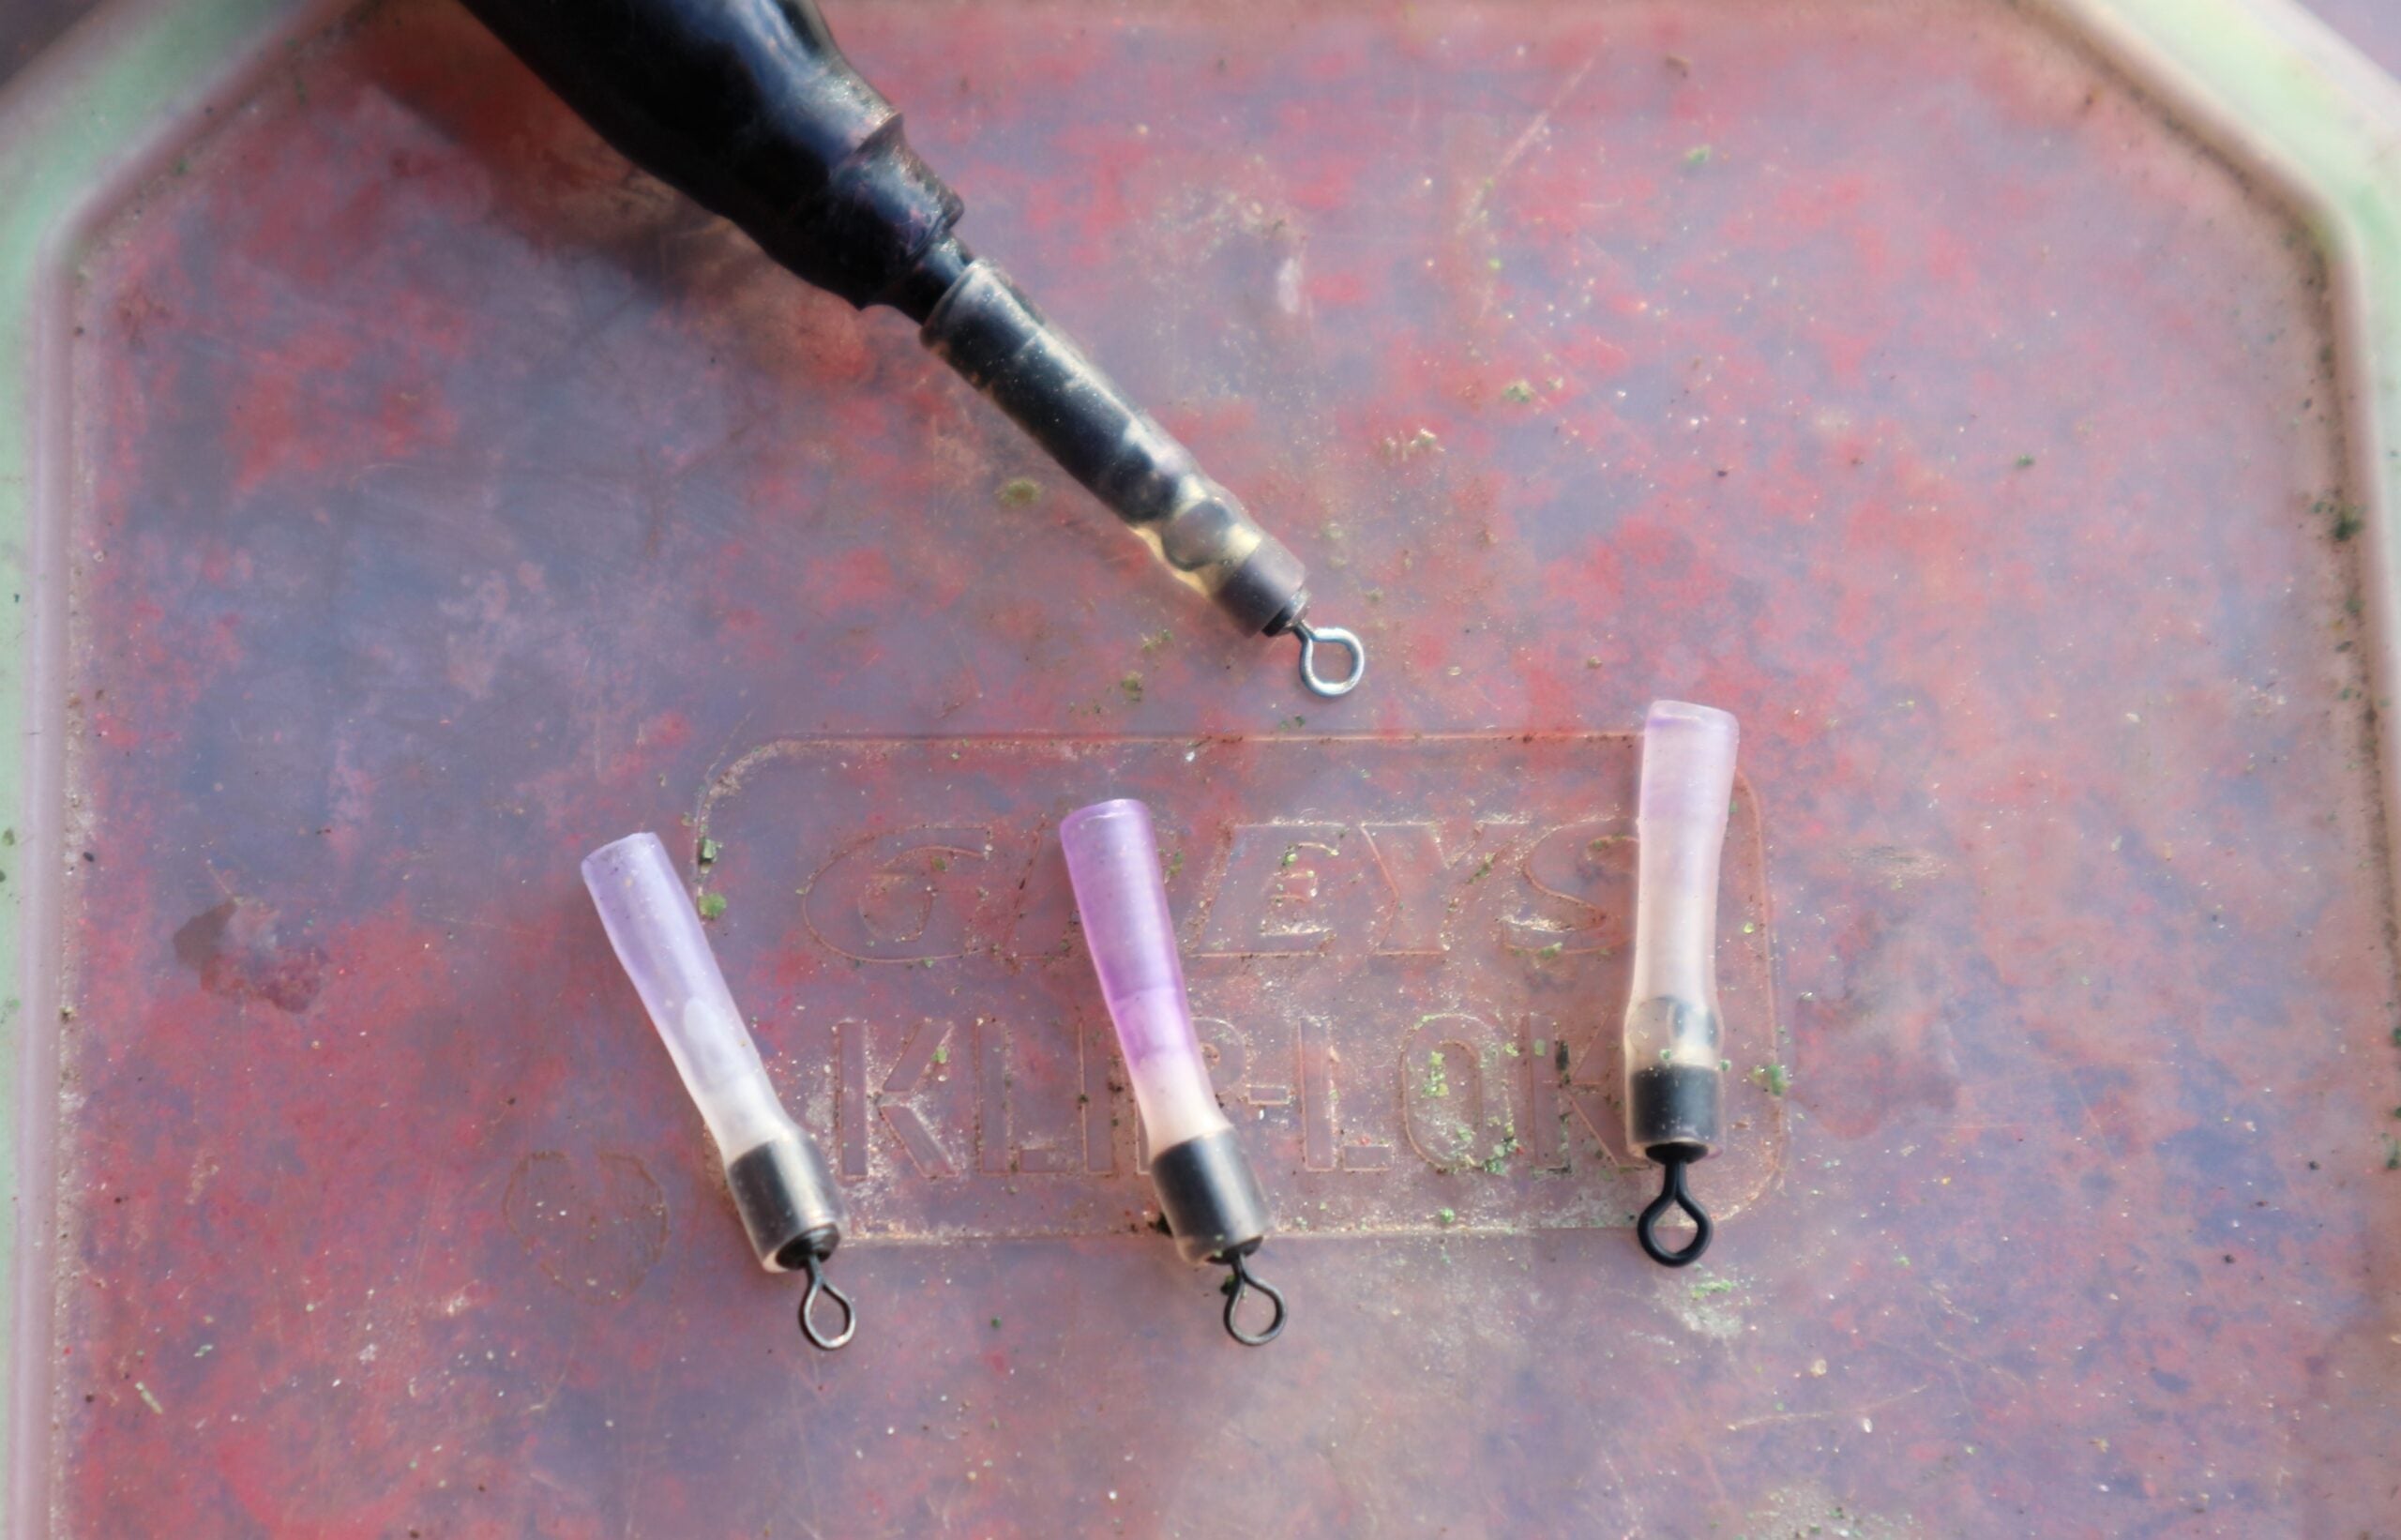
Some of my earliest peacock sliders were originally green and came from Maver. These had big capacities but were also partly loaded. The latter feature is most important to make sure the float stays with the bulk shot on the cast, otherwise it flies up the line and all sorts of tangles result. Over the years I have modified these cherished floats, so they have small plastic adaptors at the top of their stems. These take different colour hollow plastic tips, allowing for quick changes if the light or surface ripple alters. My favourite tip colour is a translucent orange, which shines like a light-bulb at distance, particularly if there’s a dark backdrop. I made the slimmer-bodied sliders underneath the Maver ones myself and use these more in the UK. They are still part-loaded but take smaller bulks, suiting slightly less deep venues, but still cast a long way. I felt tip all these floats black because it makes them easier to see as they fly out and hit the water.
GOING DOWN

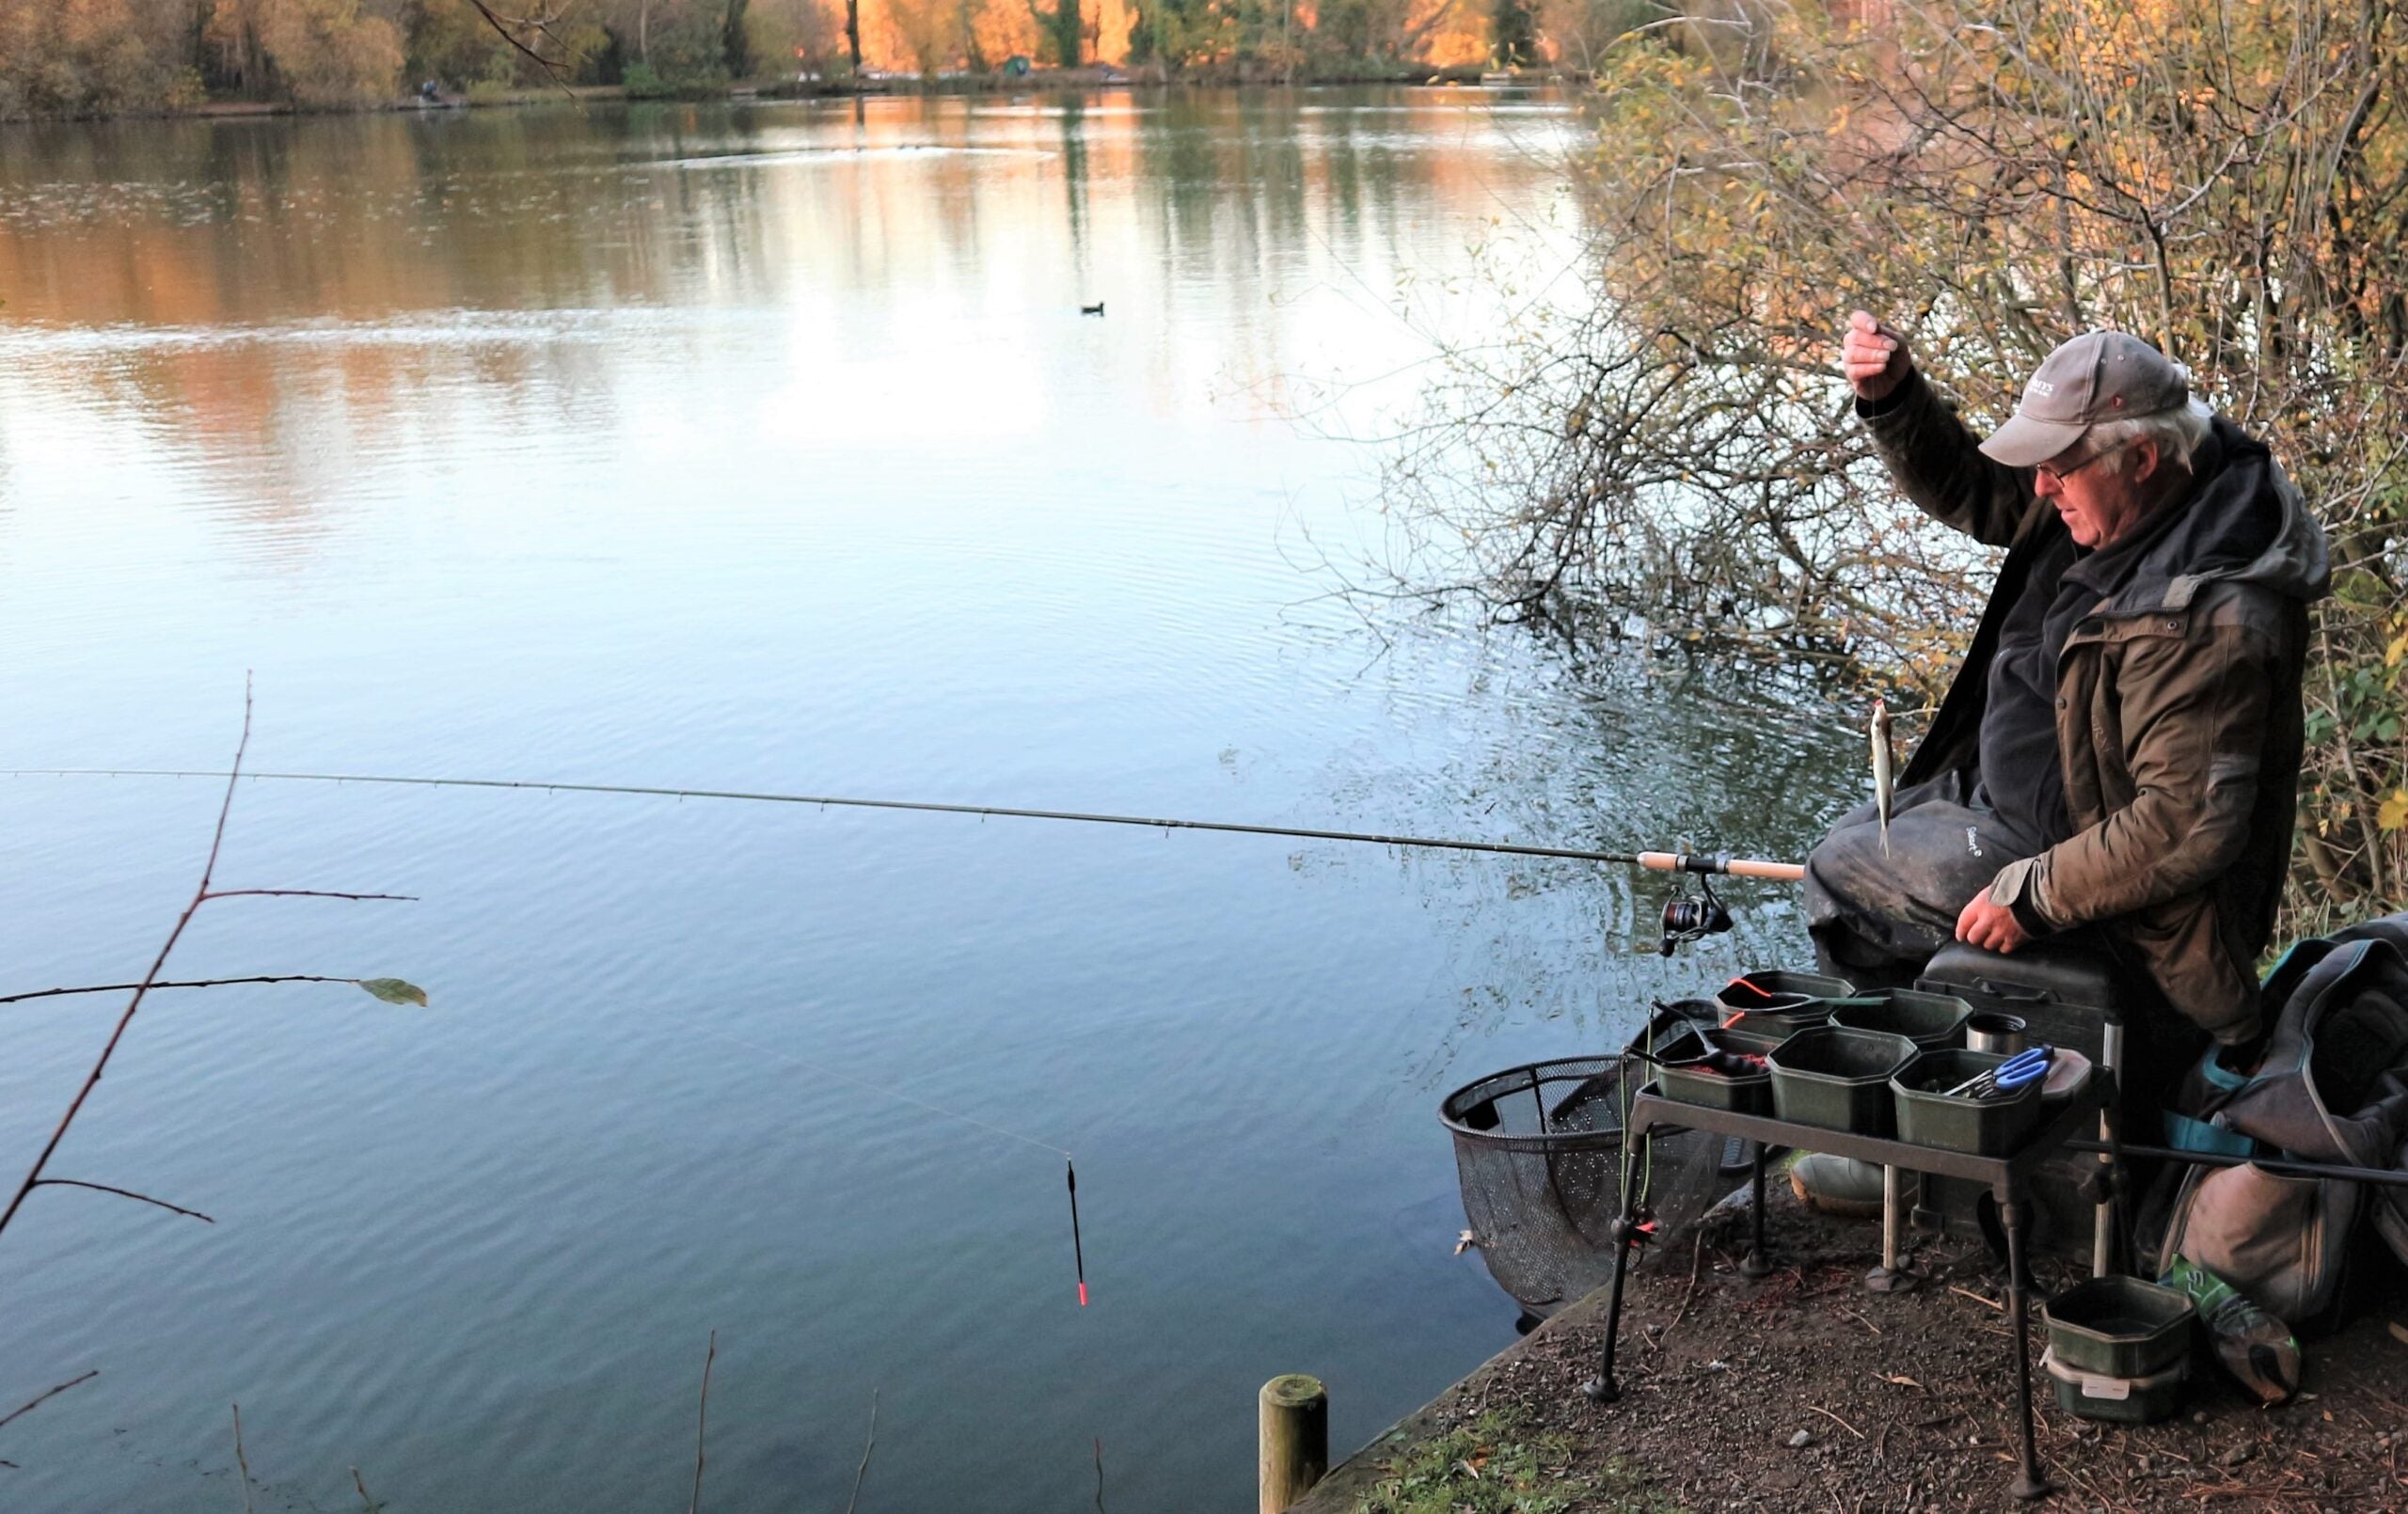
I tend to approach slider fishing differently over here, compared to Ireland, where you could get through a pile of groundbait. Smaller lakes, compared to vast loughs, can’t take so much. If I’m not casting too far, very often I switch between groundbait and loose feed, relying on two different catapults. I’m not worried if loose feed pulls fish up in the water, because it’s still possible to catch them. Instead of letting the main line whizz through the base eye on the float after it hits the surface, every now and then I try feathering it, which slows the fall of the hook bait down significantly. Bites show up by the float lifting or dithering about. This trick used to work well in the Emerald Isle, finding bonus roach and hybrids well off bottom, while skimmers and bream were more often caught hard on the deck. It was certainly worth looking for on-the-drop bites during slow periods, because this could boost your catch considerably.
BIG EYES
Some of my early slider exploits were disastrous, littered with tangles, which resulted in many frustrating stoppages. But gradually picking up tips from my Irish mates and plugging away at the method, it became easier. I think it was Cathal, king of the Irish festival scene, who put me onto using float adaptors with big eyes. These allow the main line to run through them much more freely, compared to some of the daft small openings on some of the first slider floats I had purchased. All you have to do to stop a bigger eye from running over the stop knot, is position a tiny bead above the float, which acts as a buffer. It’s best to avoid using over-thick reel line, because after a bit of wear and tear, it will start to coil slightly and run less smoothly. I find 4lb Maxima best because it sinks particularly well and is quite robust. It’s marked up as 0.17mm but my micrometer says it’s closer to 0.20mm. That’s okay because it’s probably 5lb anyway.
LINED UP
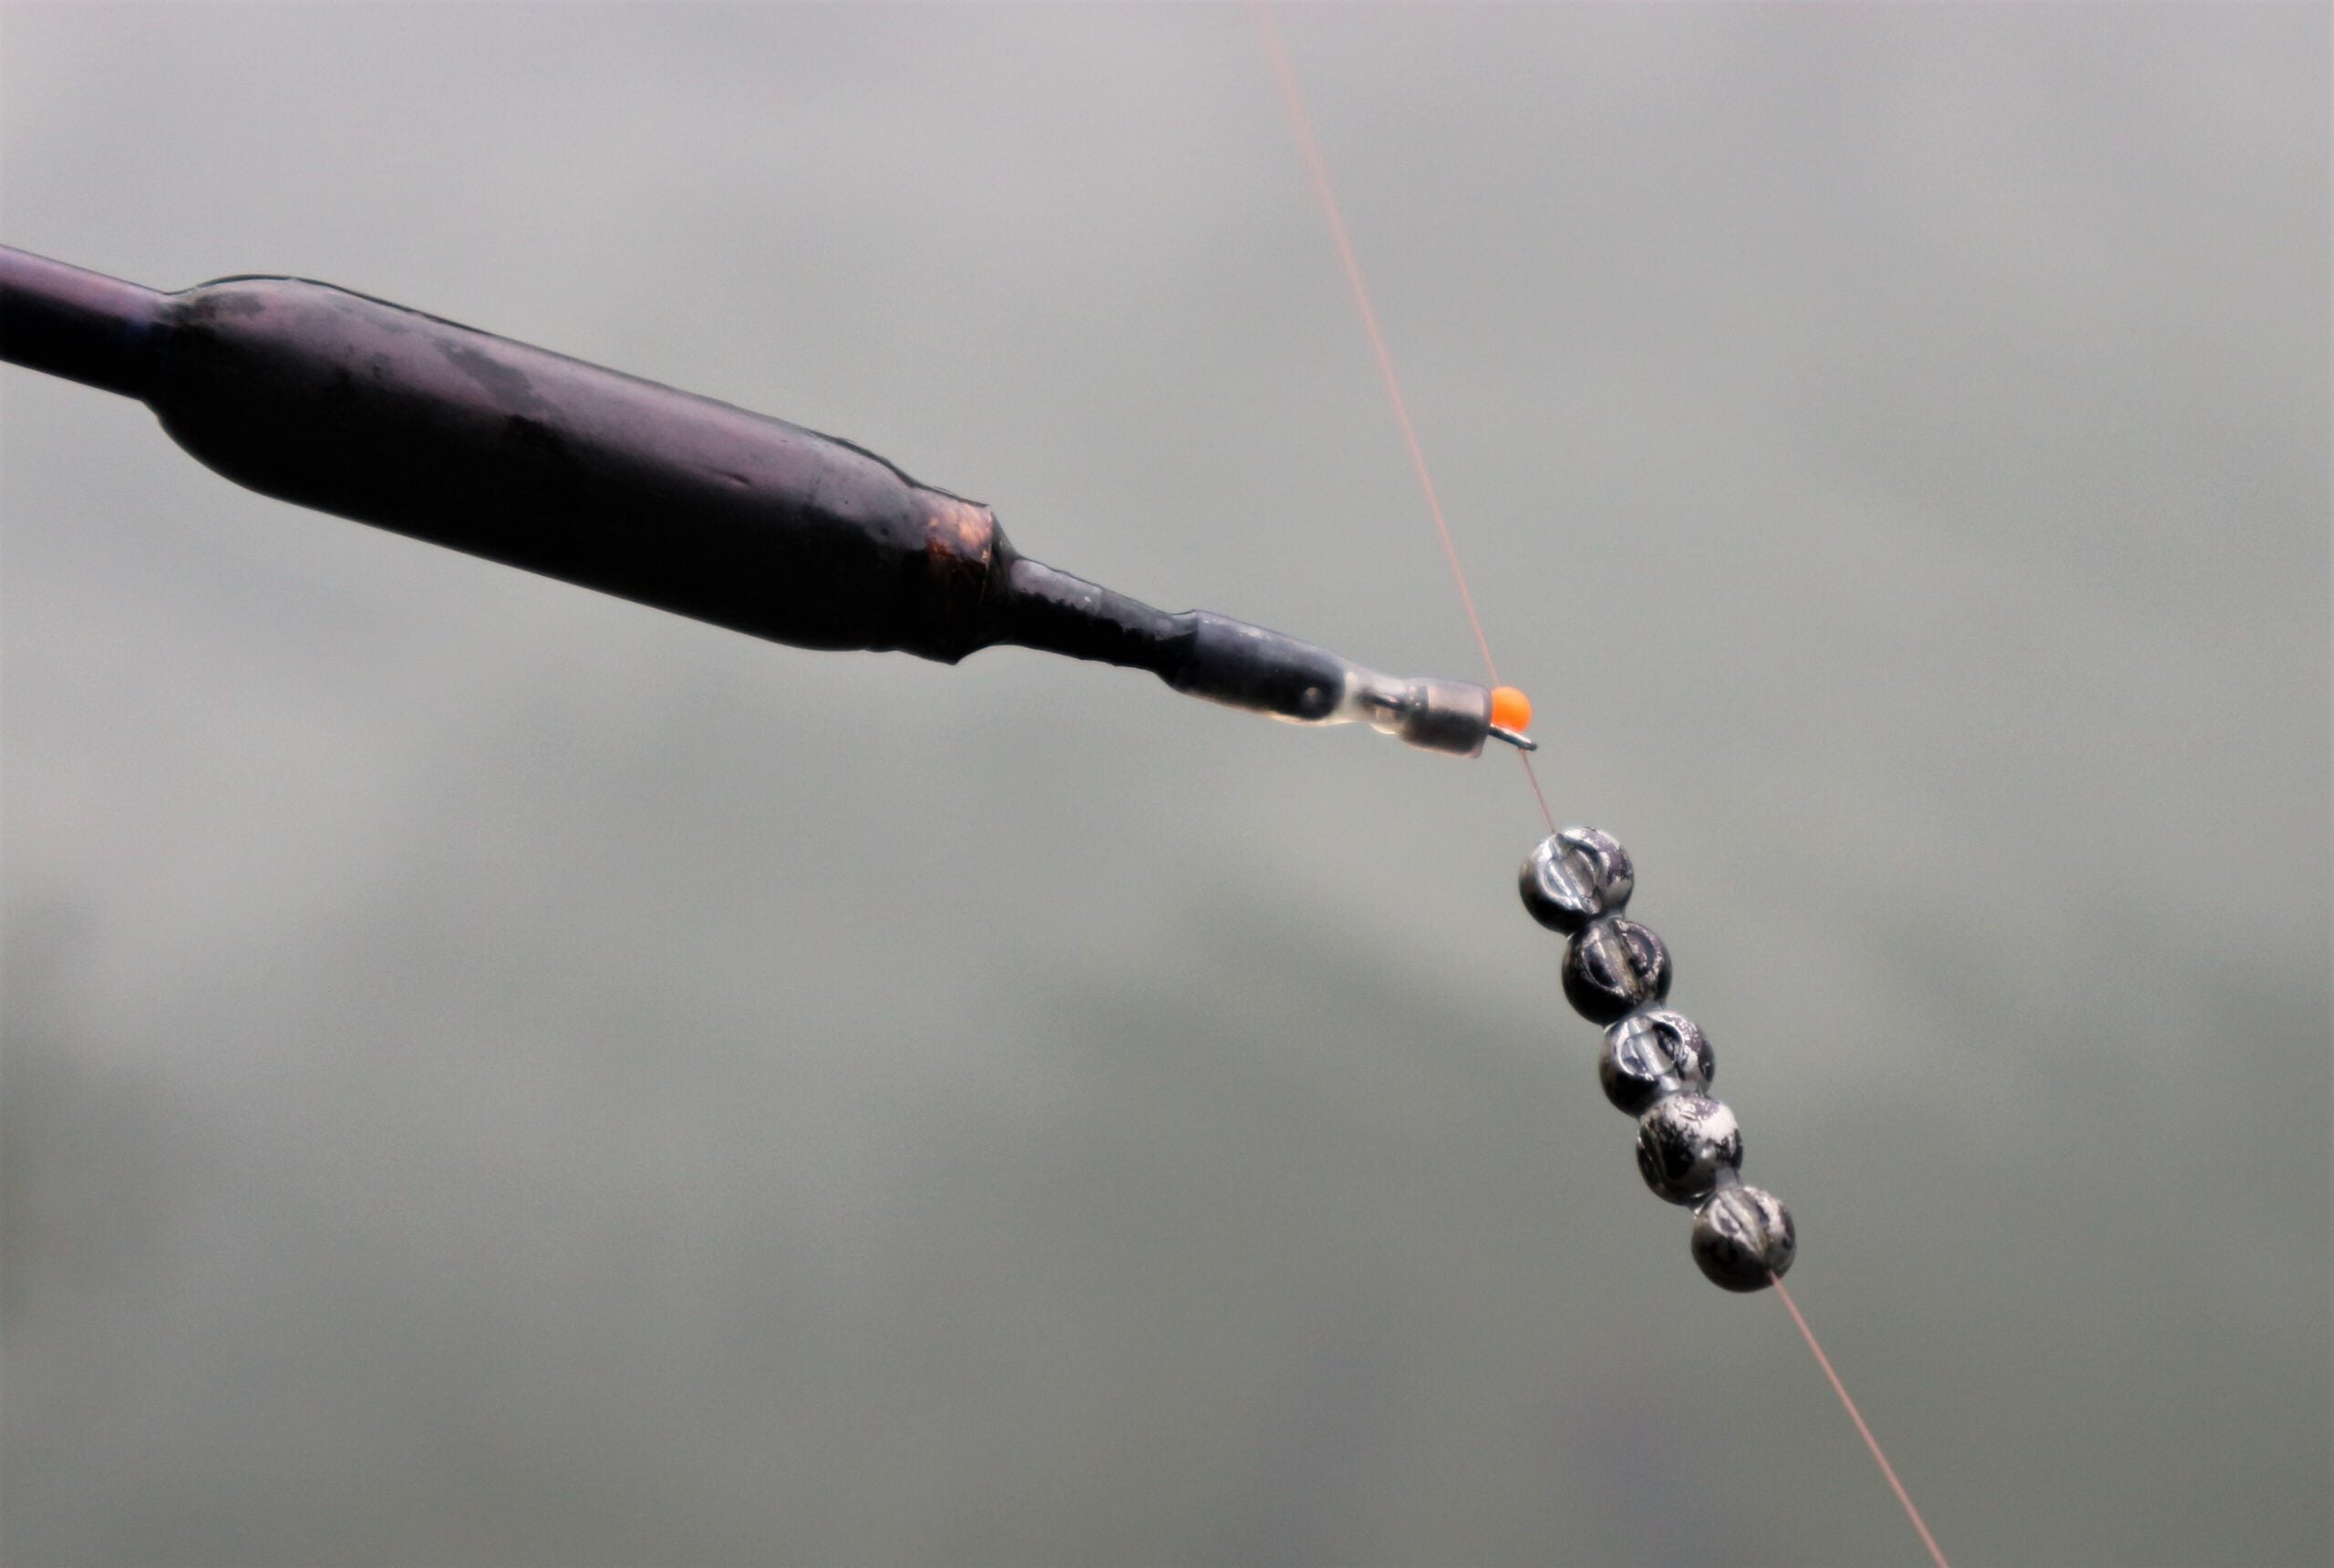
You can see the tiny plastic buffer bead above the float in the accompanying photograph. Also, notice my bulk shot are lined up neatly, so most of the slots are positioned in line with each other. With non-toxic shot, they tend to hang slightly off-centre and if you don’t align them properly they snake about and cause tangles on the cast. The easy way to get big shot all facing the same way after they have been attached to mono, is to slide them along it several inches, which helps the weights to settle straight with each other. Another useful trick is to use a slightly smaller gauge when forming bulks. By using more smaller shot, bulks become better streamlined and stiffer, acting like a boom that’s less likely to cause tangles. In this instance I felt tipped my bright shot black, which makes it easier to see where they are, so I know my rig is working right. I’ve tried using olivettes as bulks with sliders, but found they were extremely tangle-prone.
WHY IT WORKS
You might wonder why go to the bother of all this detail with a slider, when surely a simple groundbait feeder rig could do the same job? After a few initial problematical sessions with this deep-water float set-up I was beginning to wonder, but after seeing my Irish pals catching loads of fish when the feeder was struggling, I had to ask questions. They explained a theory that made sense to me. There were some very deep loughs we fished that never seemed to produce much to feeder tackle, unless you used cage models that released their contents quickly, combined with extra-long hook lengths. They reckoned this was because slow release groundbait feeders and short links got buried in soft bottom silt, to the extent fish couldn’t find what was going in. With a slider and softer balls of feed, that wasn’t going to happen. You just had to keep adjusting and shallowing your depth setting after plumbing up, until the bites started coming.
DIFFERENT FEEDING
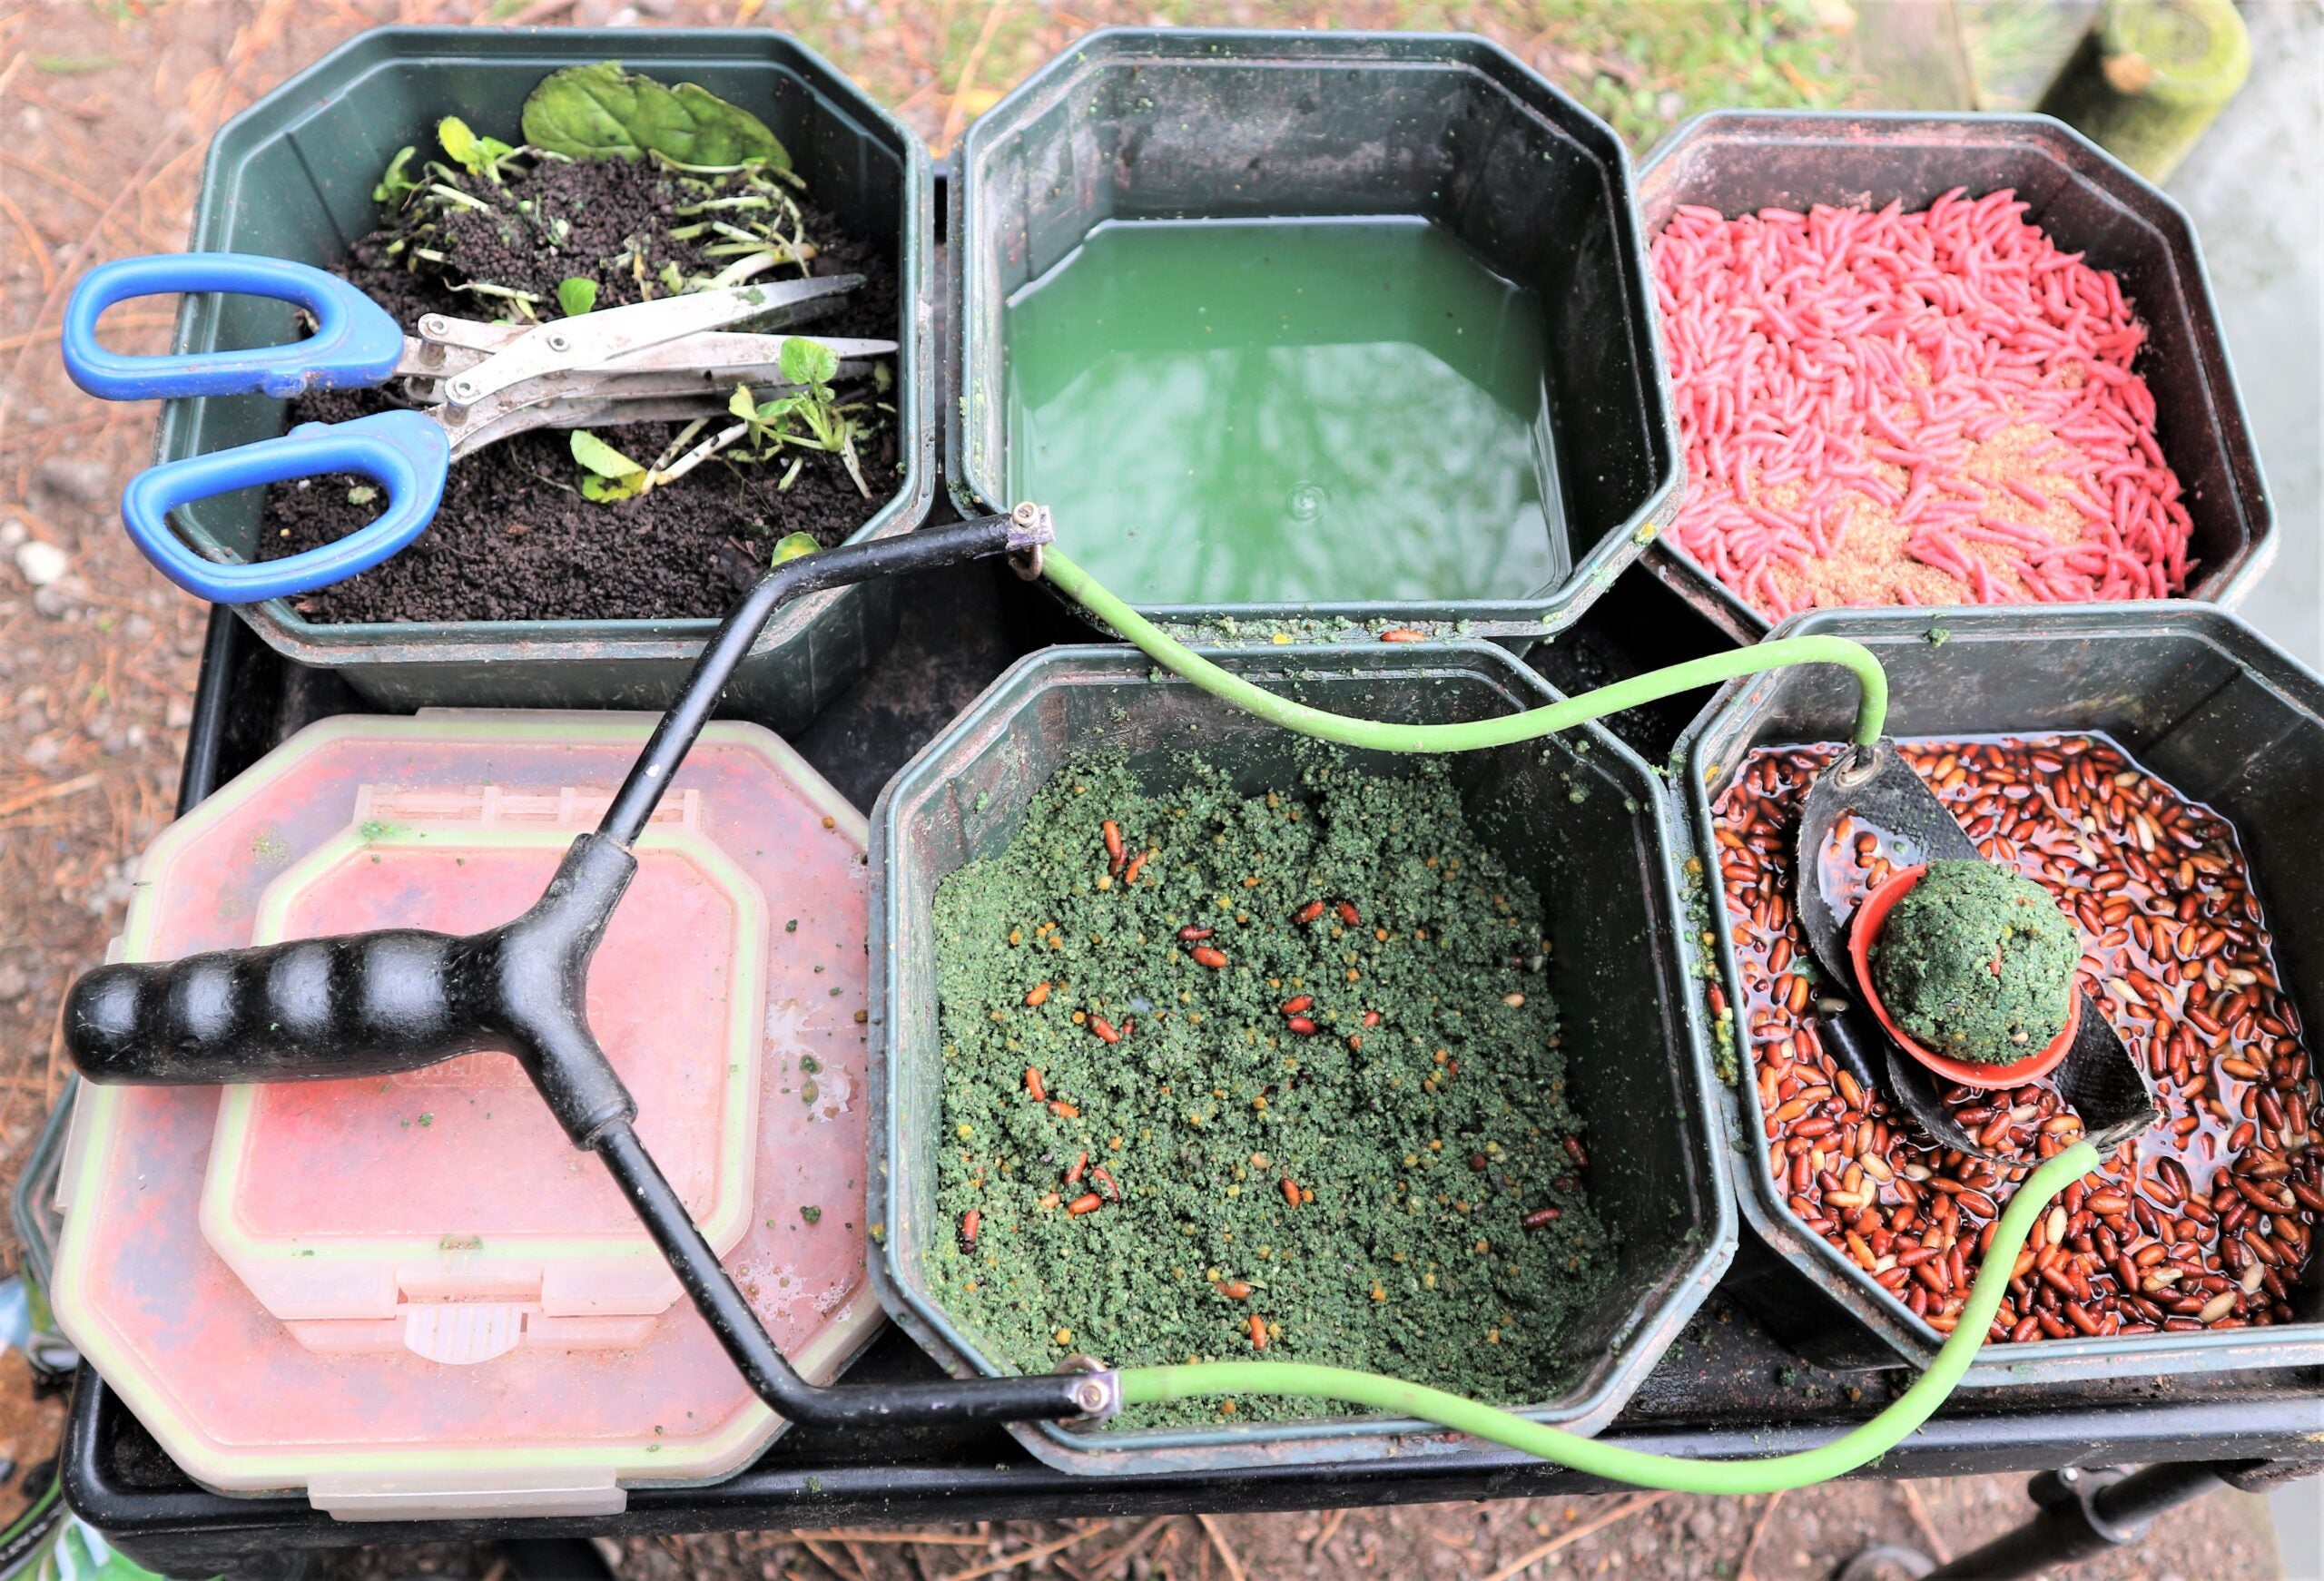
I use sweet groundbaits on deep natural venues and fishmeal-based ones on places that see lots of pellets. These are mostly on the dark side and I like green when the bottom is silty, because it gives a bit of colour for the fish to home in on. Normal practise is to start with chopped worm and casters, along with a few micro pellets in the groundbait. On big venues I put a small ball of feed over the float every cast until something happens and then take it from there. Normally a ball every two or three casts works okay after that. On smaller venues I use groundbait much less frequently, finding three or four small balls about right to begin with, topping up at 10-to-20-minute intervals, depending on how the fish are responding. As mentioned previously, if I can get loose feed out far enough, feeding casters or pellets by catapult is another option. There will be days when groundbait can be fed far more regularly, but it’s best to feel your way in.
DEPTH MATTERS
Once I have plumbed up the depth, I make a visual note of where my stop knot is by counting from the butt ring up, bearing in mind I use a 14ft rod most of the time for slider fishing. After that it pays to keep making adjustments. I don’t use heavy plummets with this method because they don’t cast very well in combination with a big bulk positioned several feet away. Far better to use a small piece of tungsten putty squeezed on the hook. Normal practice is to start three or four inches over-depth and to shallow up an inch at a time until bites materialise. Sometimes slightly suspended hook baits work better, which I suspect is due to them being found easier if the bottom is very silty. Another consideration, especially if plenty of bites are occurring as the tackle settles, is to try fishing well off bottom, even around mid-depth. I’ve caught big bream, hybrids and quality roach like this, switching to feeding much softer balls of groundbait every cast.
TOP TIPS
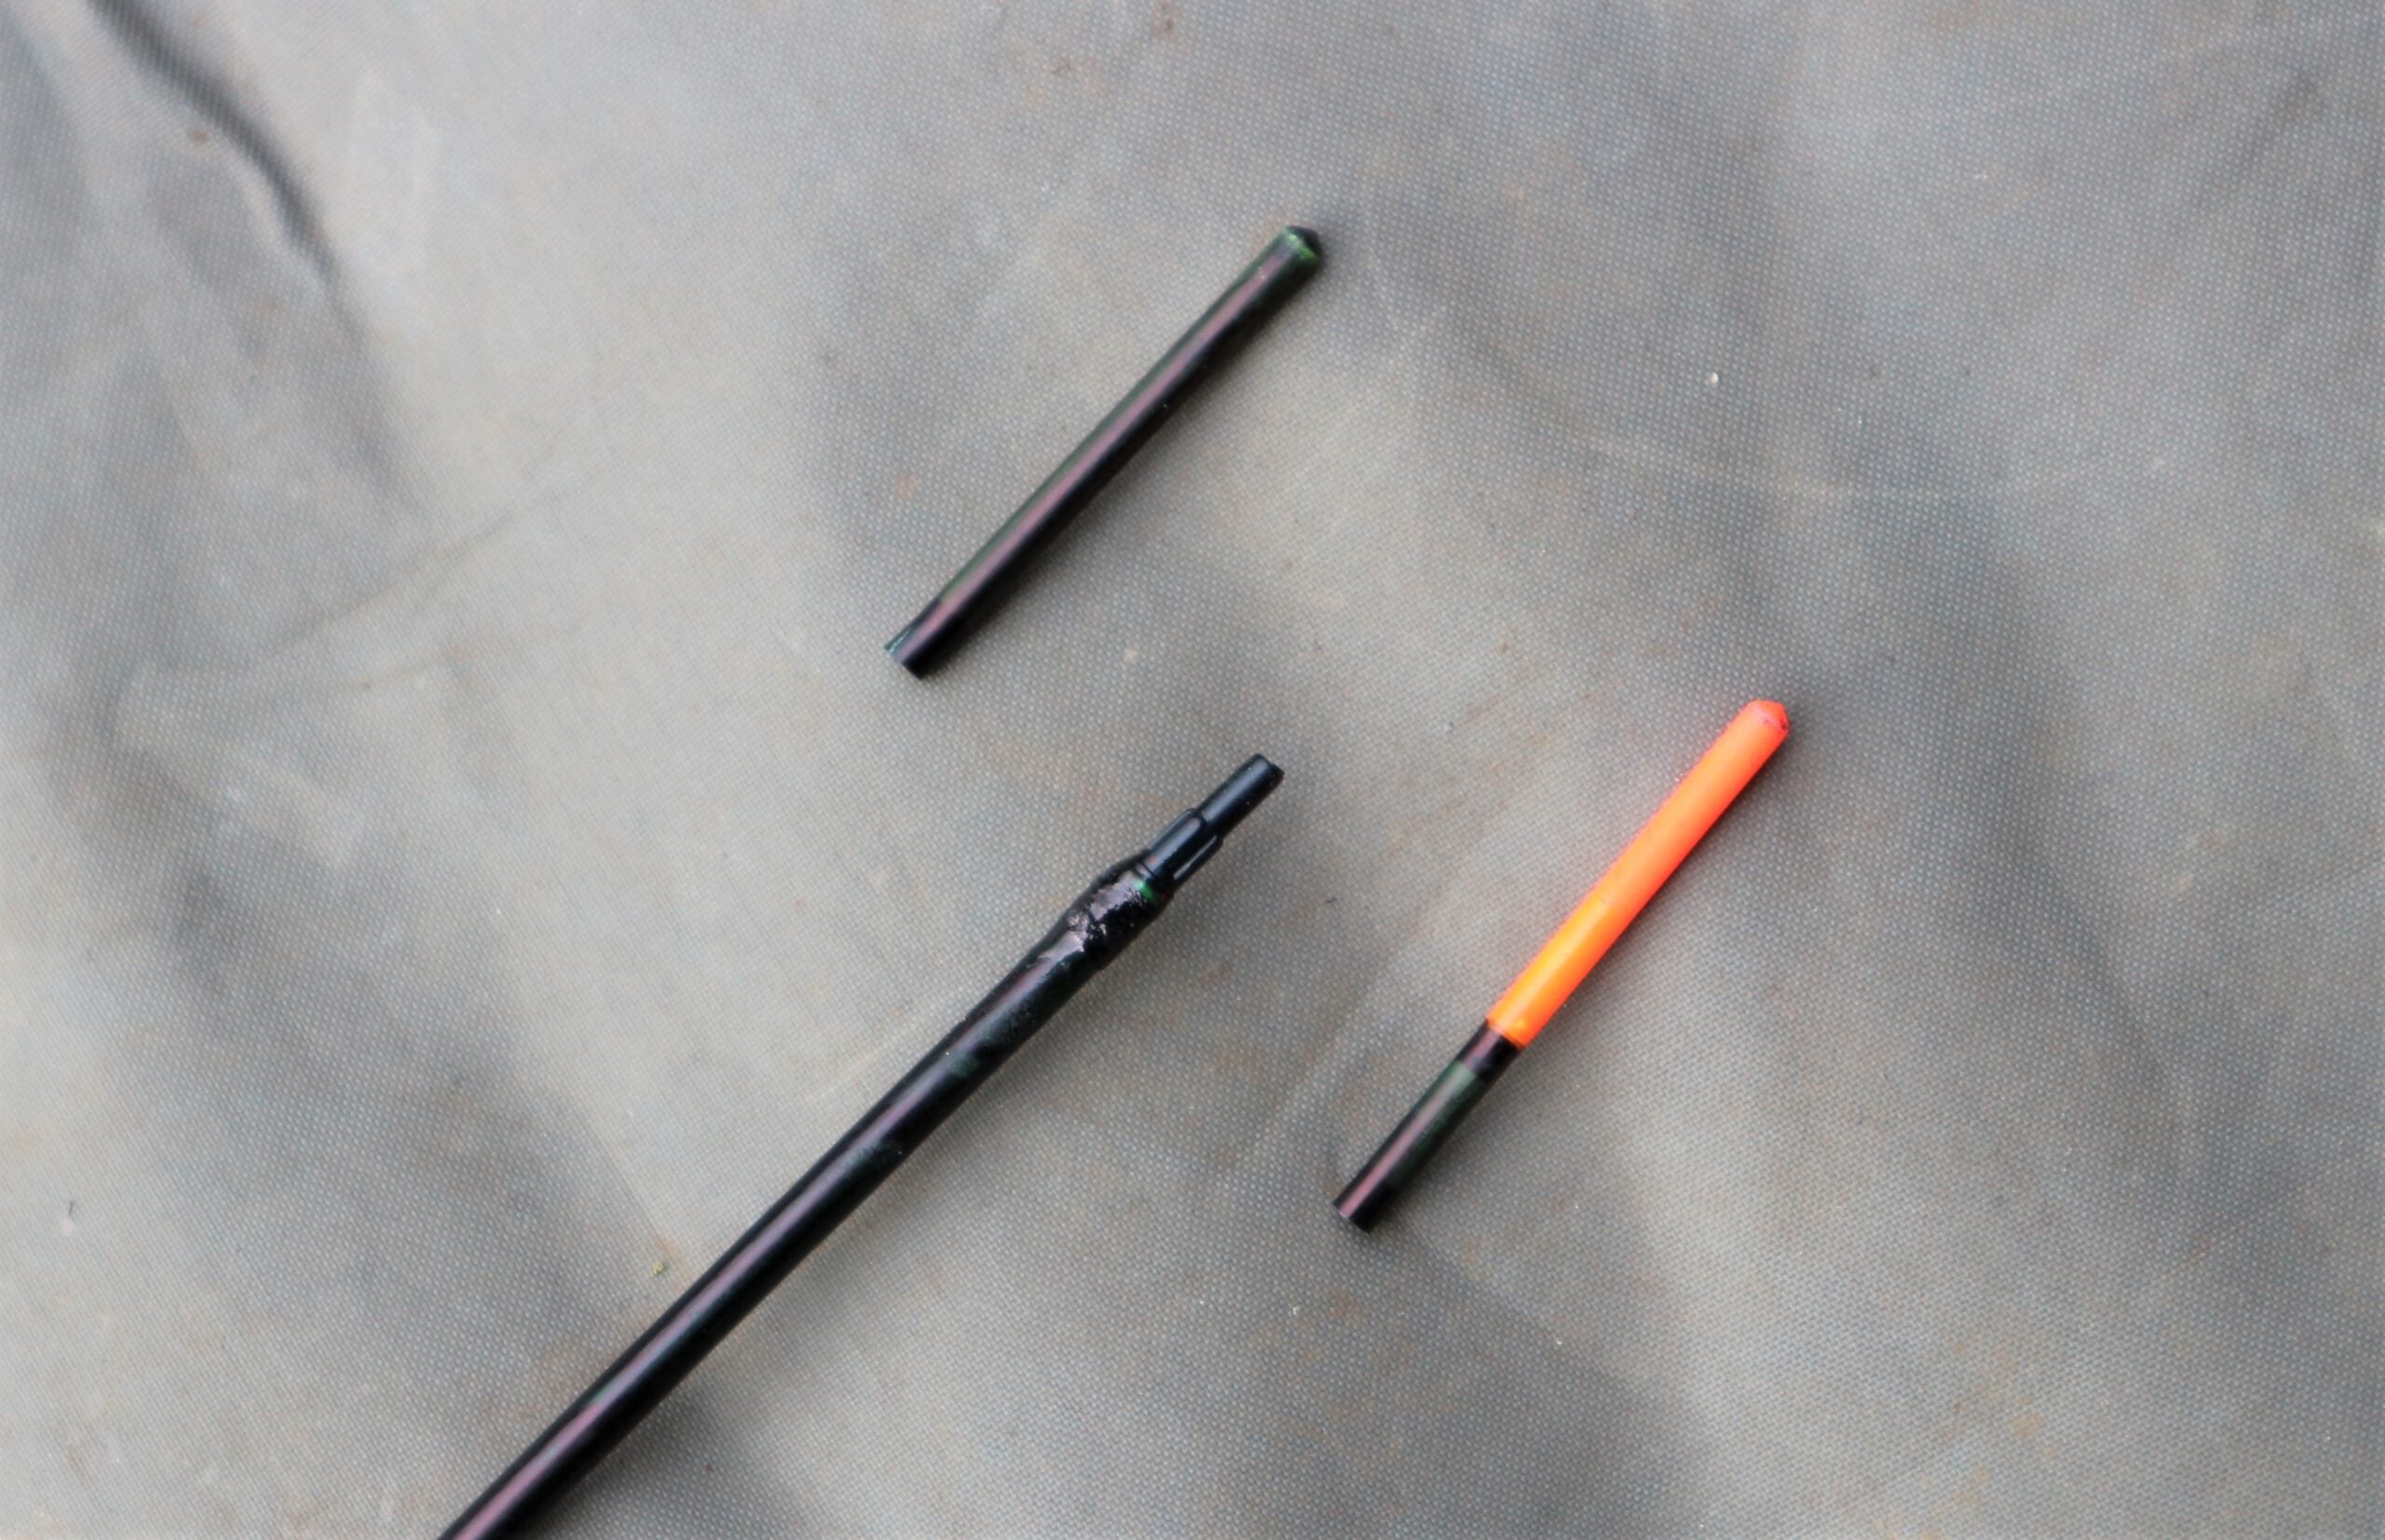
A great deal of my slider fishing has taken place on large stillwaters, where I often had to felt tip my float tips black to show up against a white backdrop. But it became a pain having to re-paint many of them for other venues that had much darker surface water. I eventually cut off the tip sections on all my bodied peacock floats and glued adaptors in place, which now accept new hollow plastic tips. This allows me to change tip colour in seconds if light conditions alter. I also have thinner tips I can switch to, should more finesse be required. The only problem with interchangeable float tips is occasionally odd ones do come adrift and get lost, but I have plenty of spares. Some specialist tackle shops sell lots of different diameter hollow plastic tips you can use as spares, although adaptors to fit them to are much harder to find. I was lucky as I knew a float manufacturer and managed to get enough to modify all the wagglers I needed to alter.
FISH FINDING
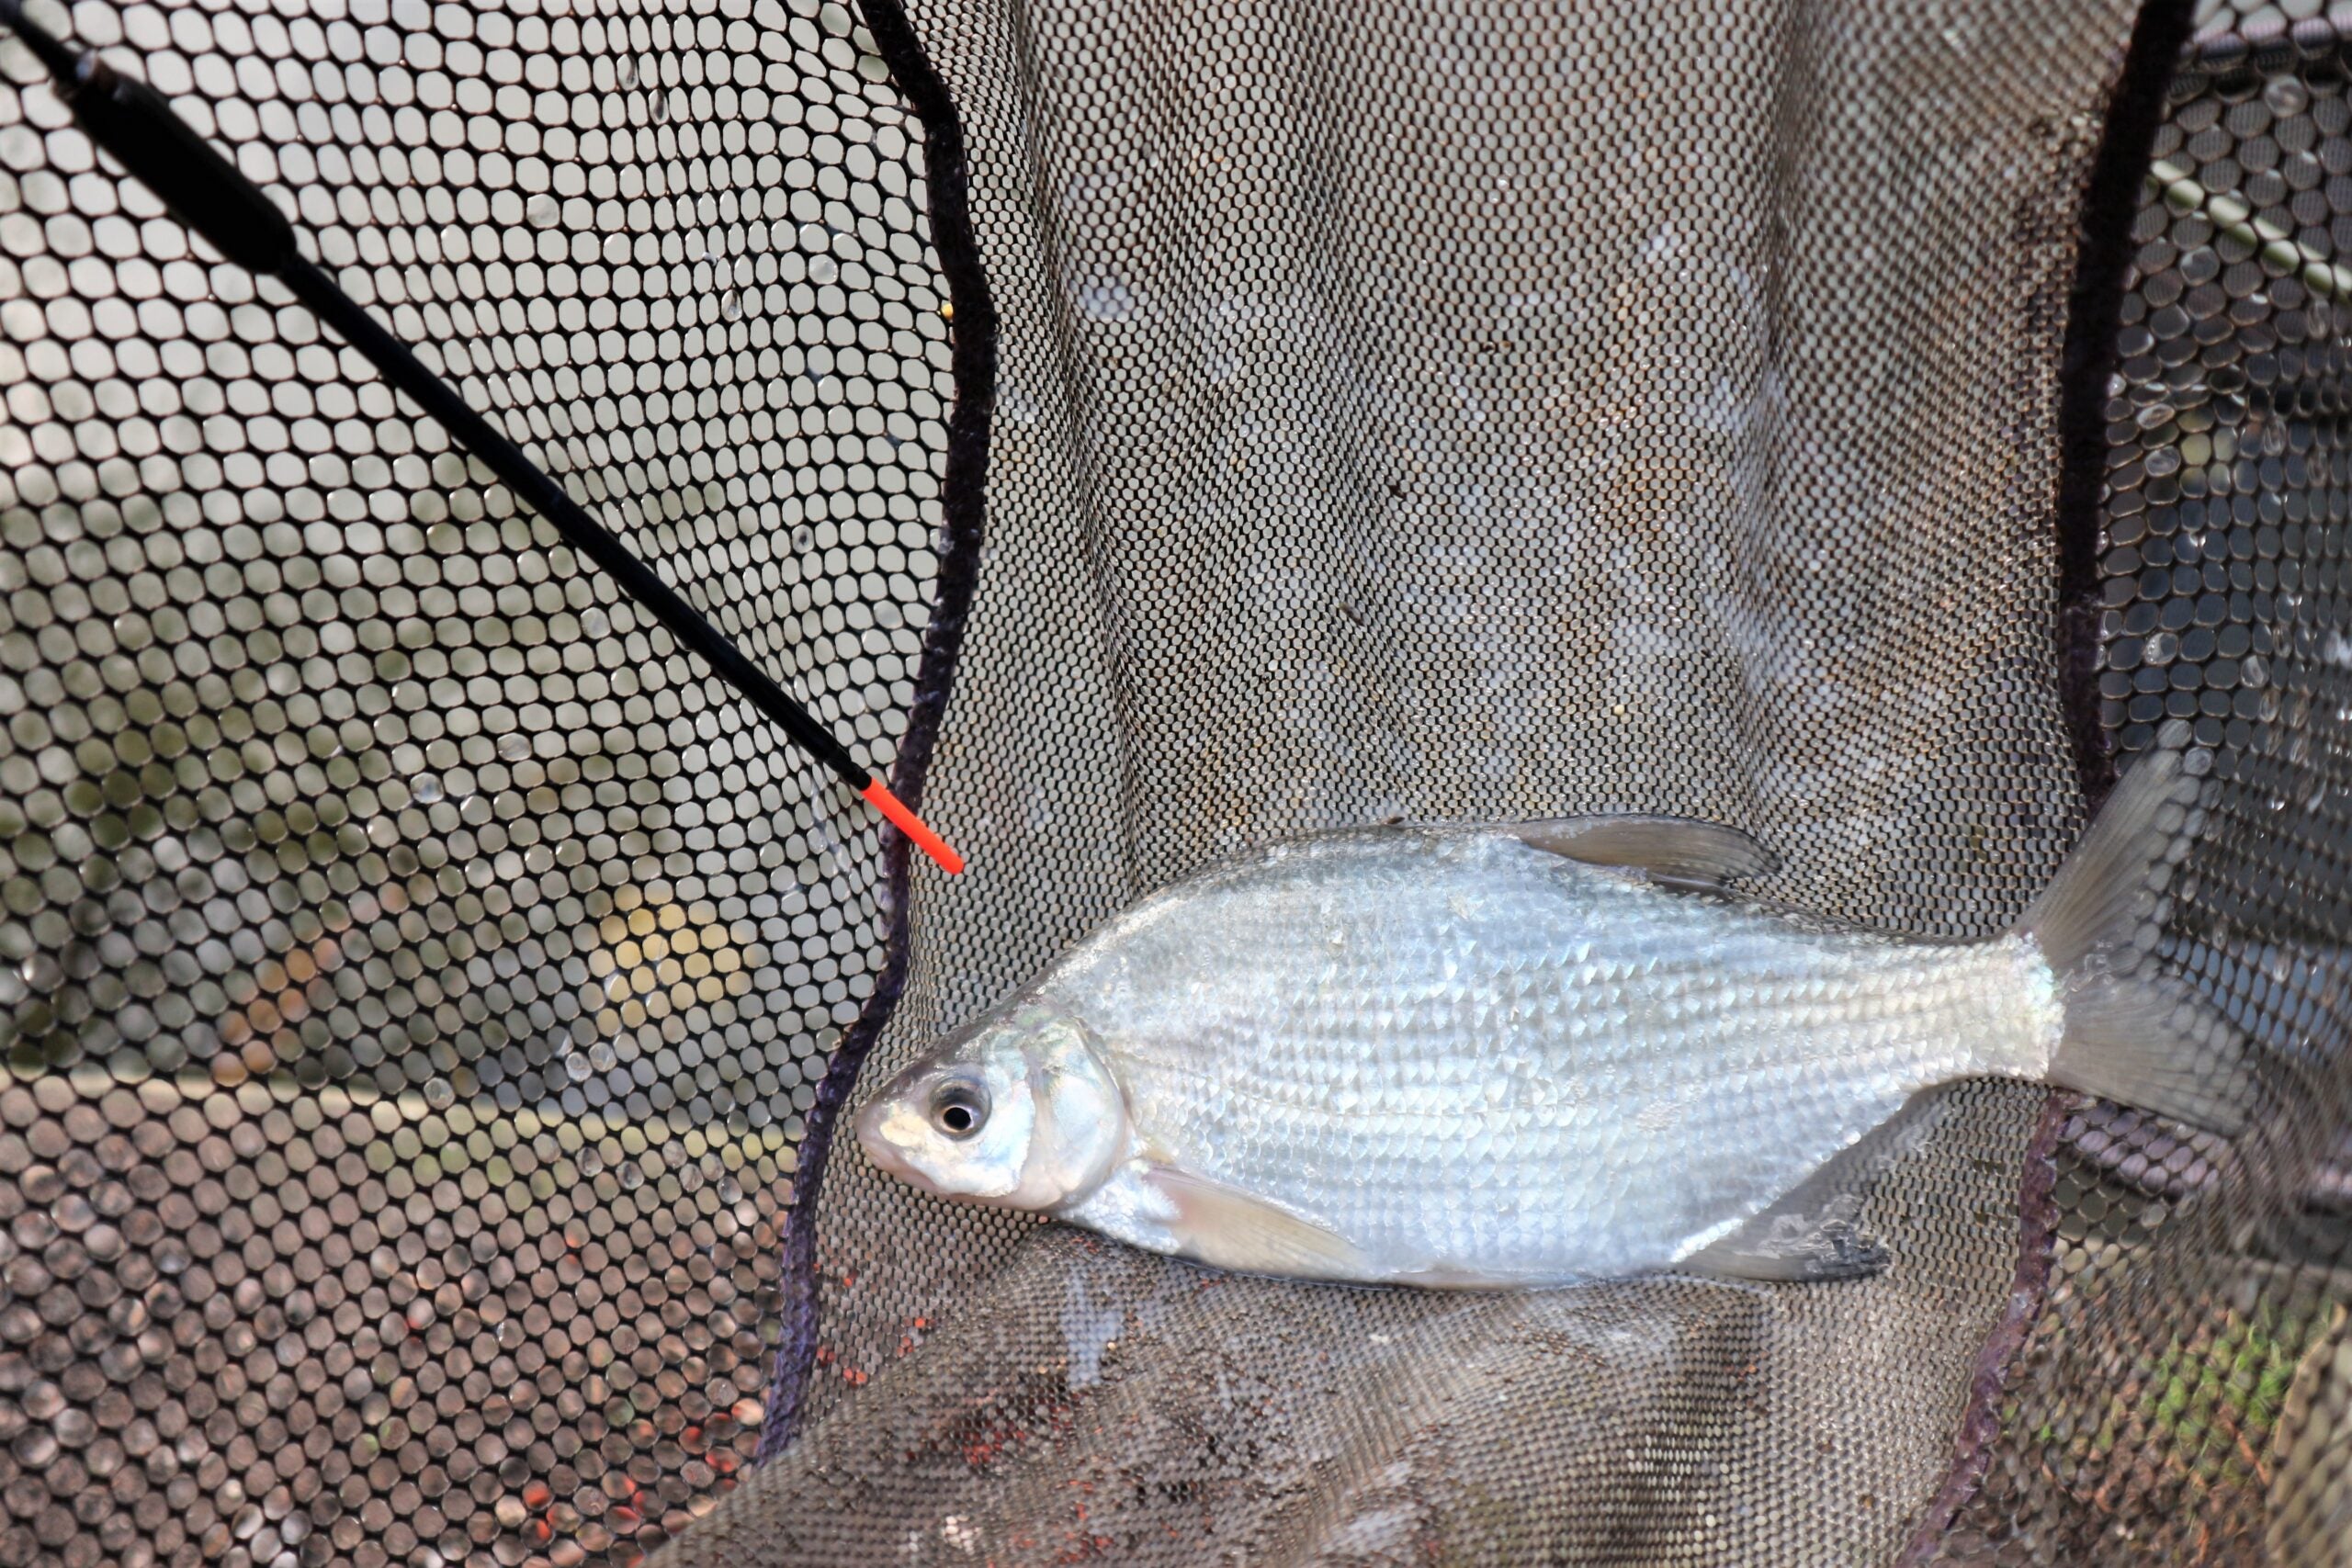
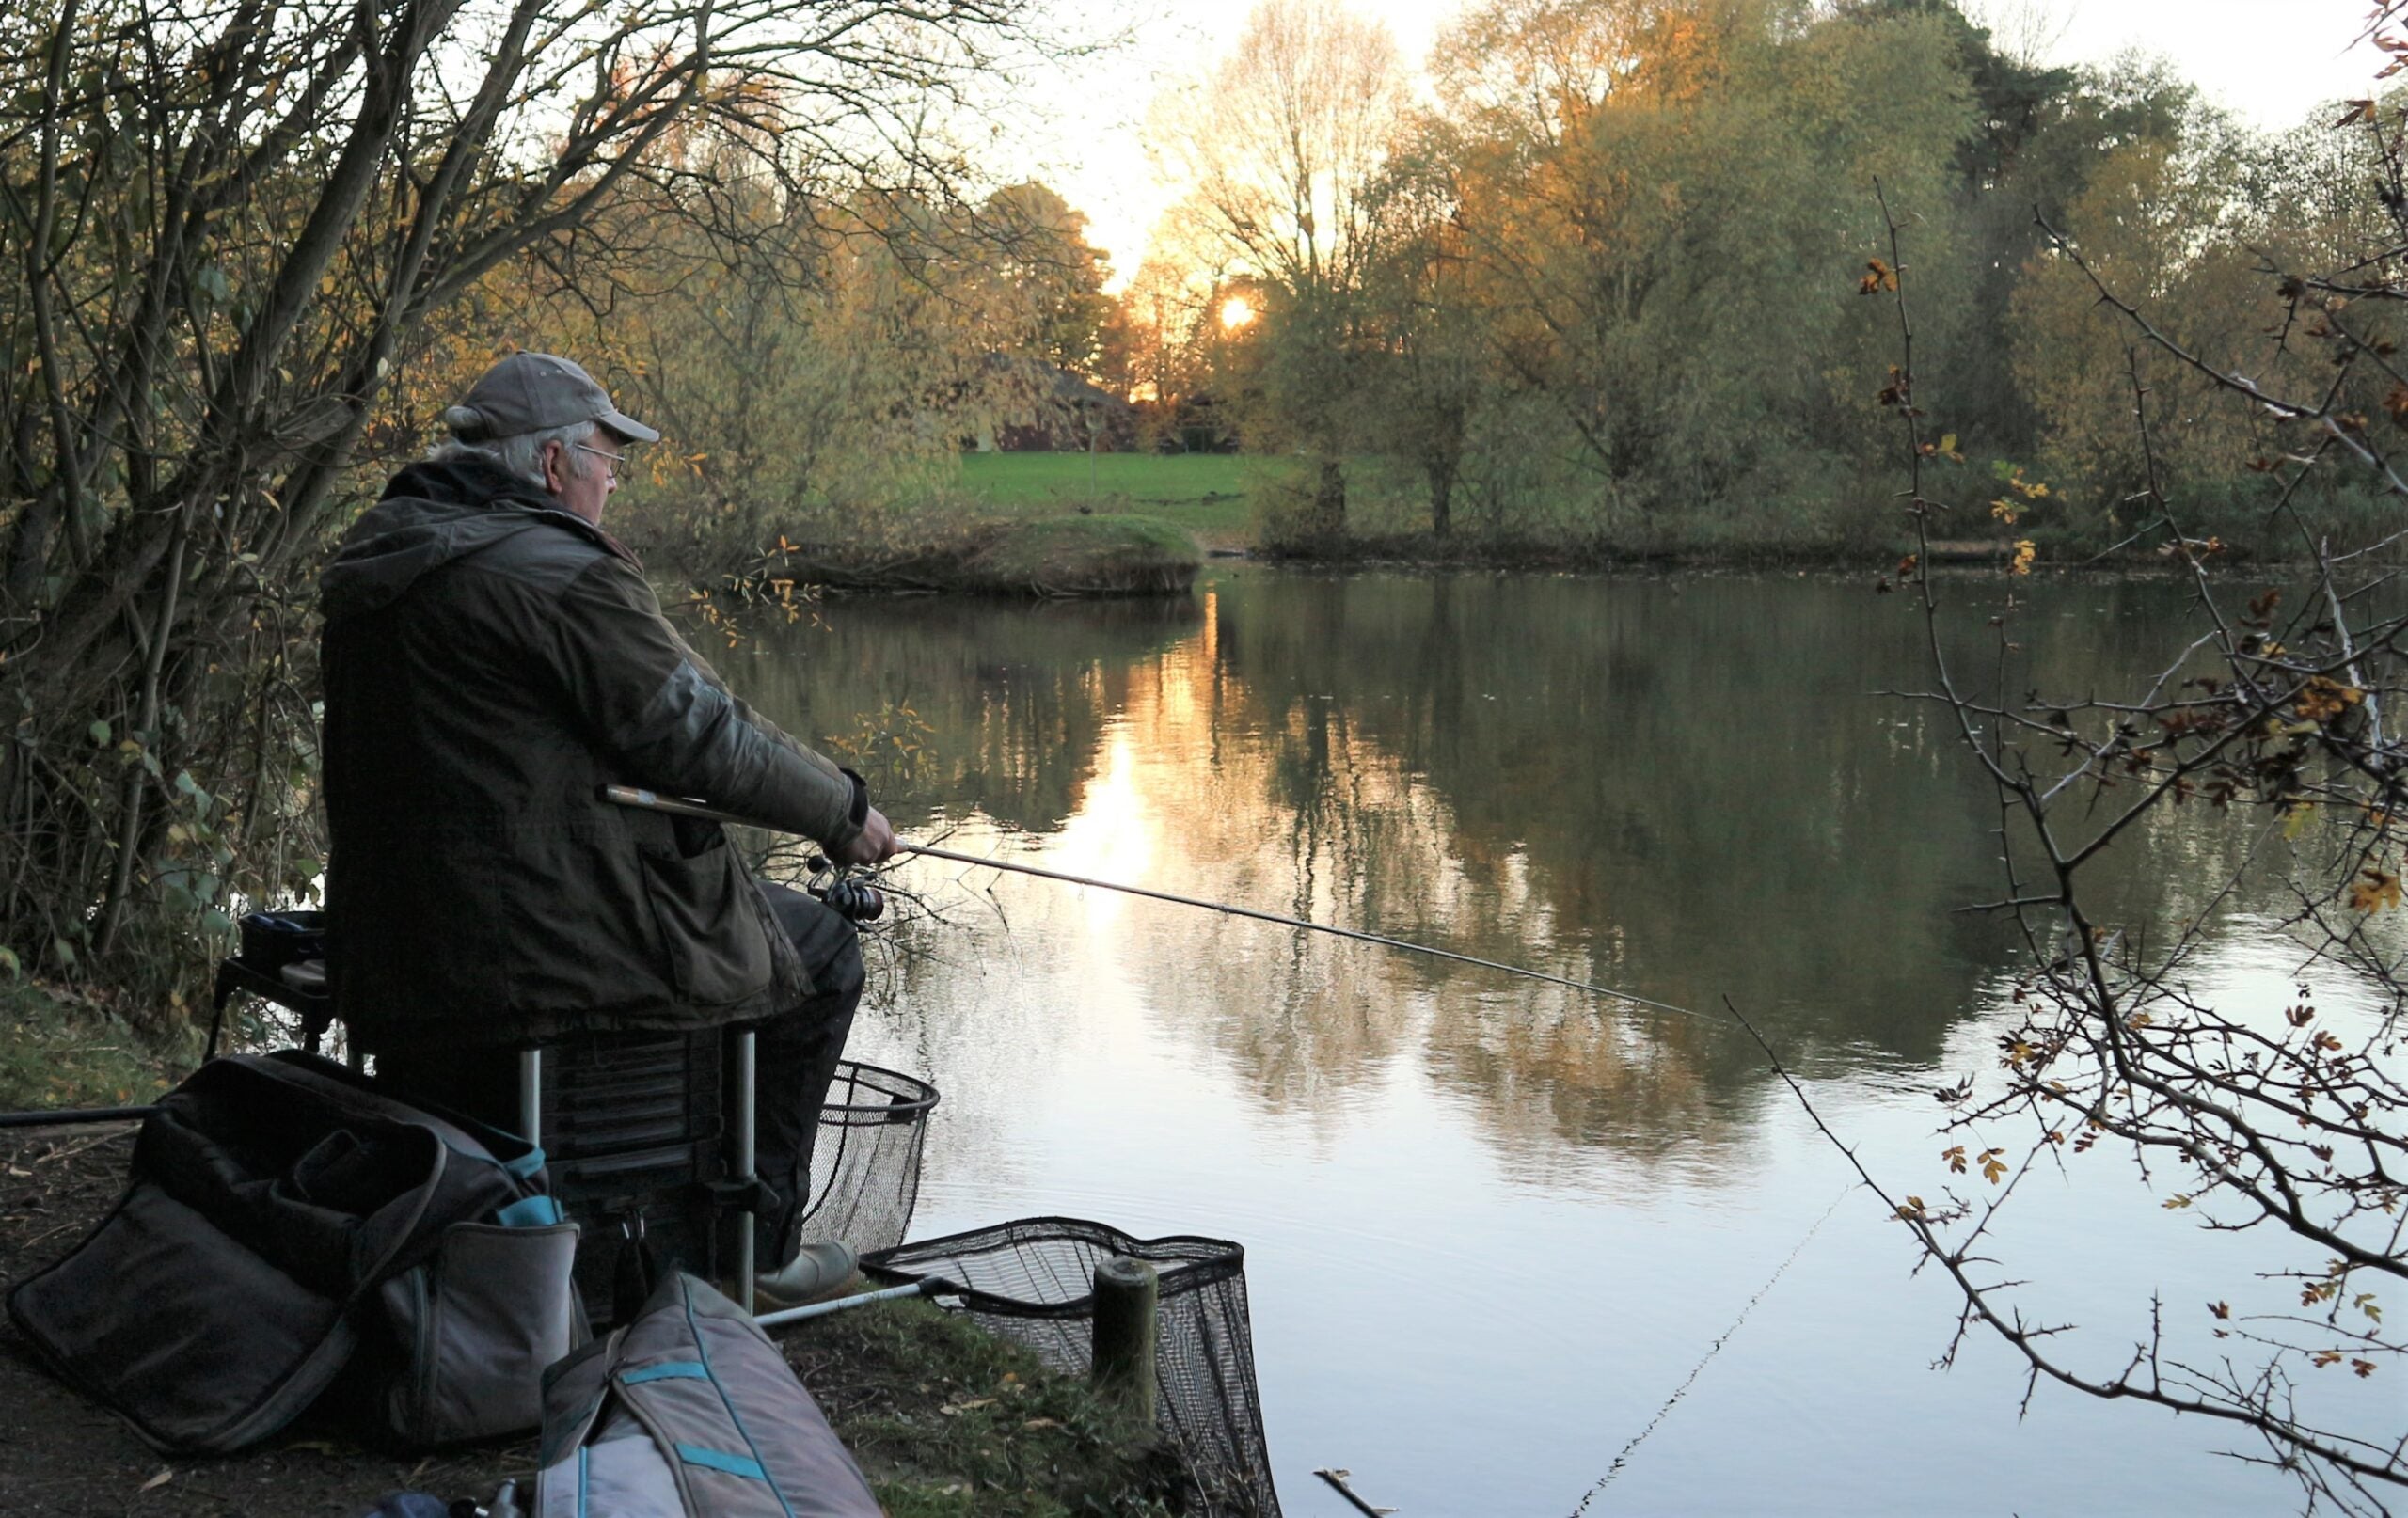
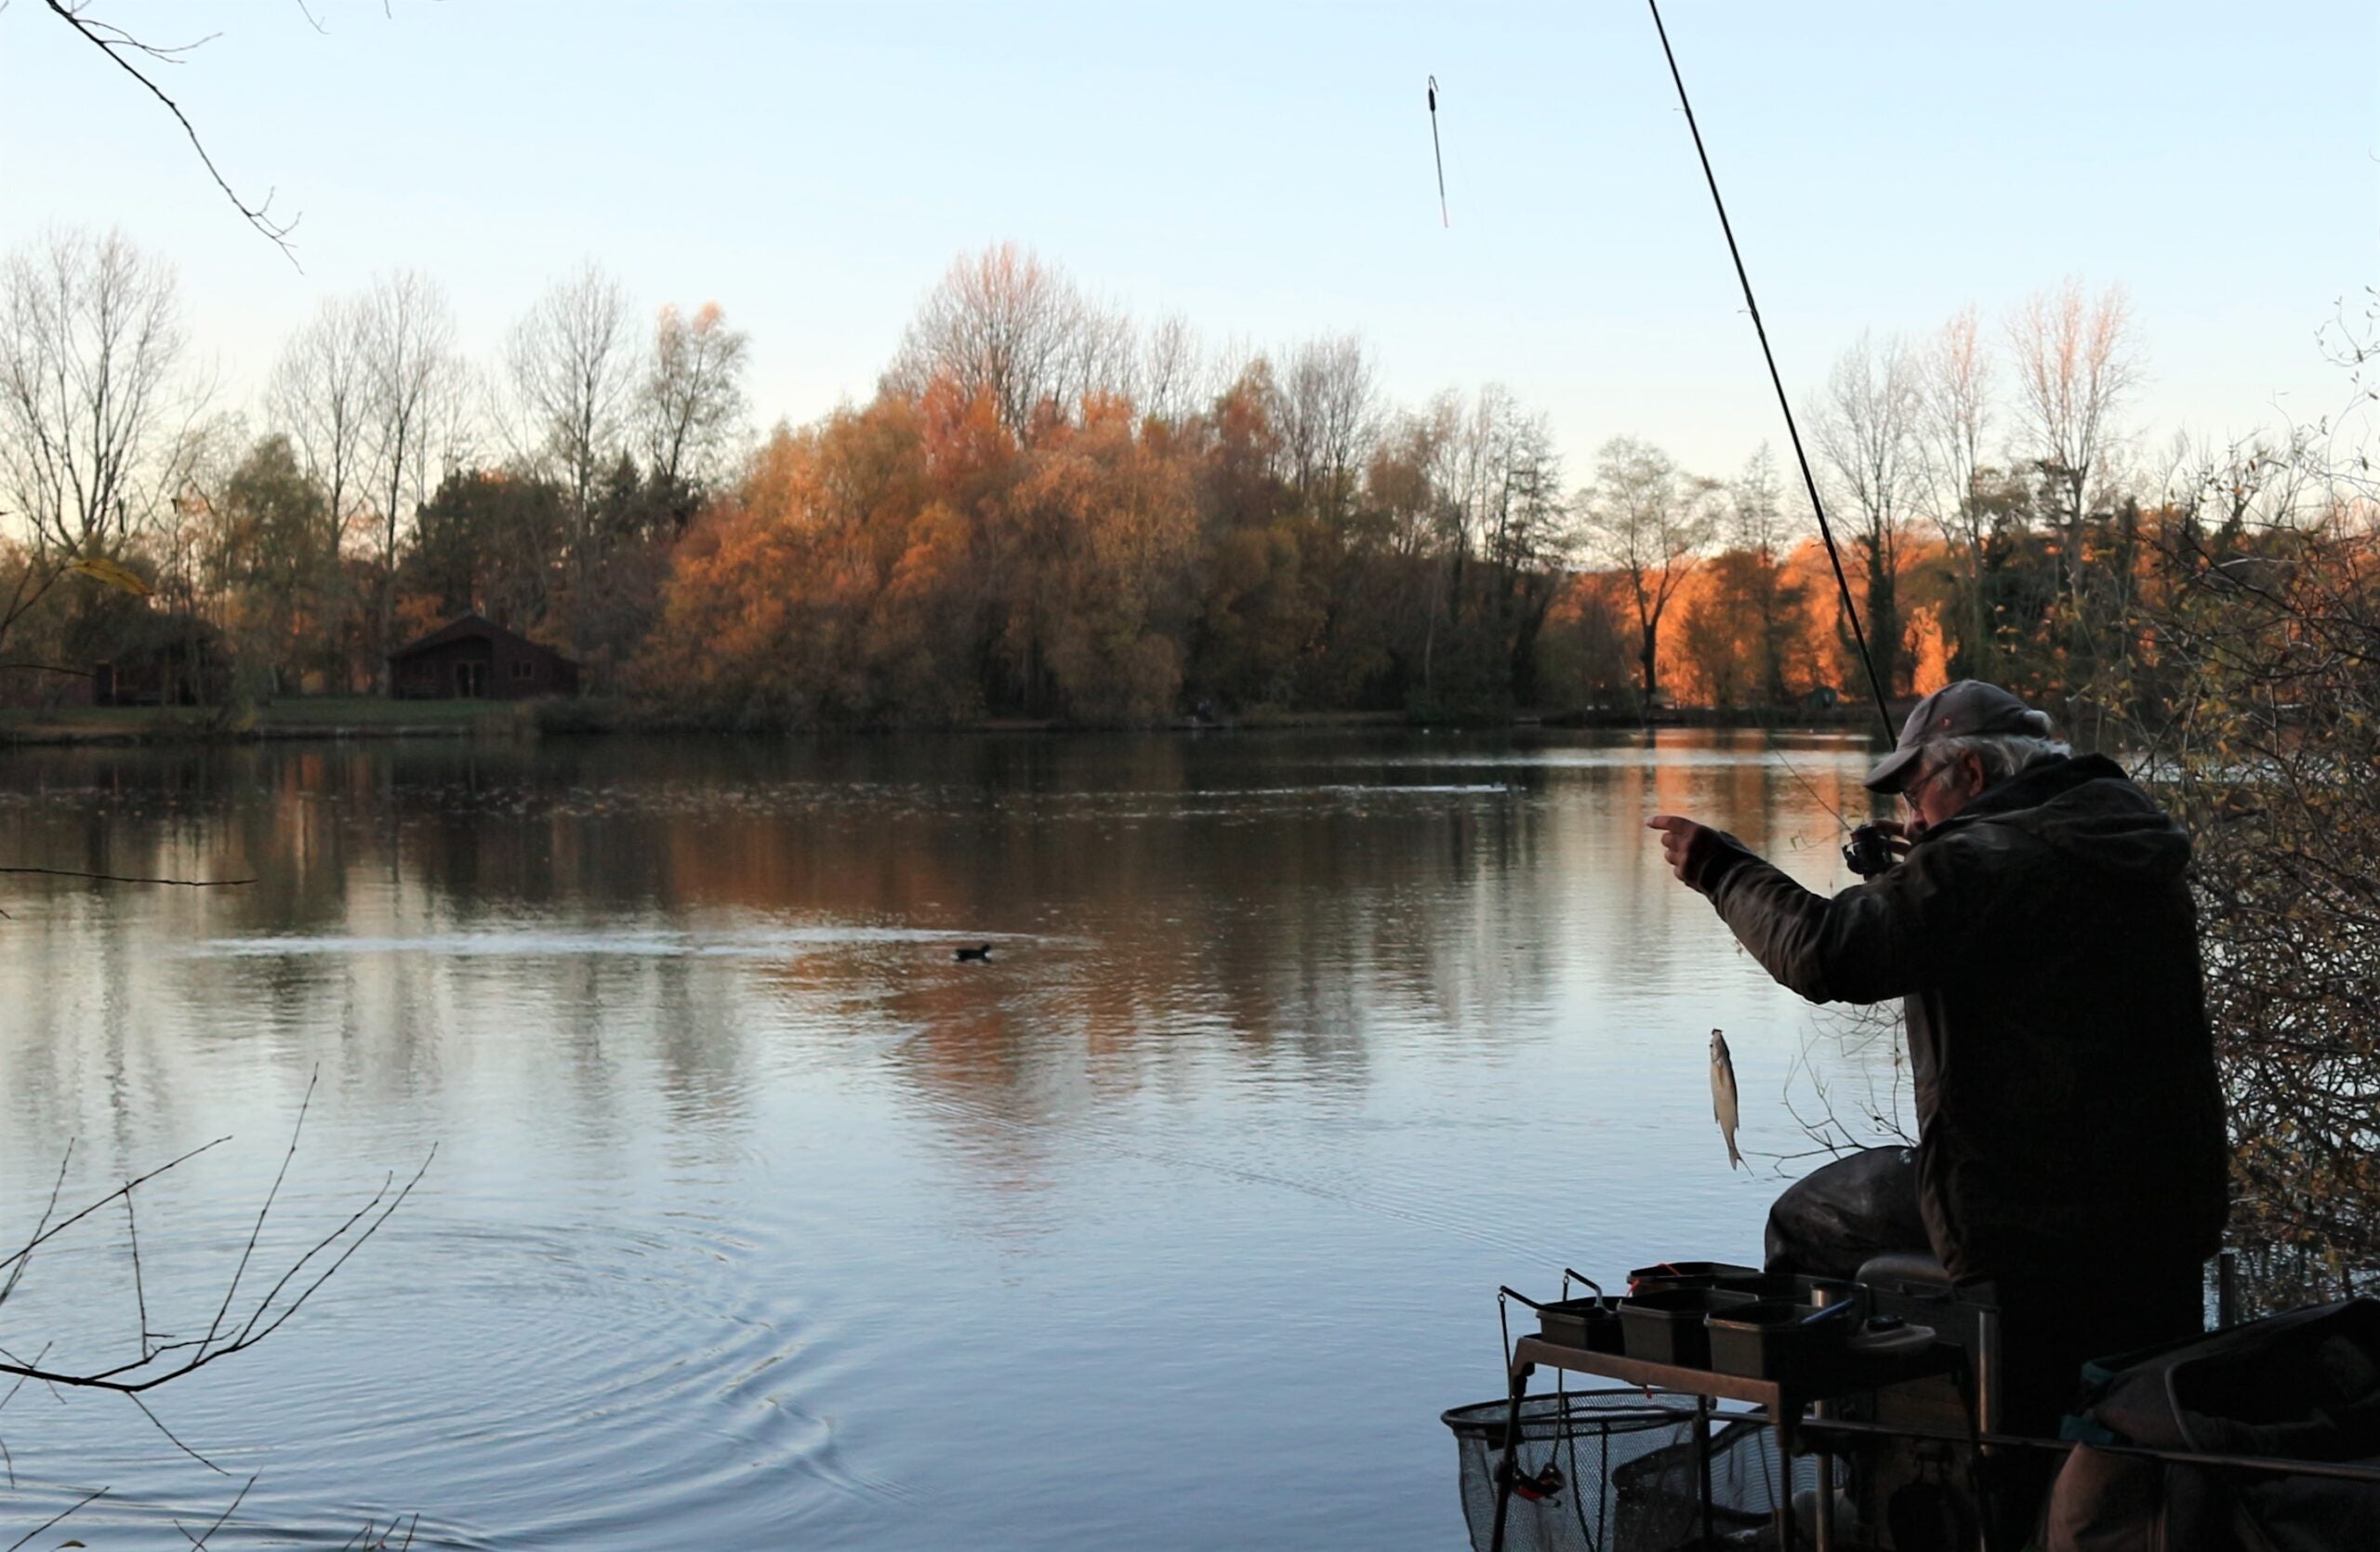
Where the slider works best in my opinion is when it’s a struggle to get to grips with deep venues on normal pole, fixed waggler or feeder tackle. Maybe the pole isn’t reaching out far enough to find the fish, or the depth of water is making it a struggle to cast a fixed waggler, while with the feeder it’s too static to encourage bites. With a slider you can go way beyond pole range, plus these floats cast so much easier than when using conventional wagglers, particularly when you can’t find a rod long enough to deal with very deep swims. With this method a 13ft or 14ft float rod can easily cope with depths down to 30ft. Then of course, after the rig lands, you can feather the line or twitch the rig in to encourage bites. As previously mentioned, you can adjust your stop knot to explore many different depths, in the quest to discover where the fish are. In this instance skimmers were feeding well off bottom and might have been missed with feeder gear.
SWIVEL LOGIC
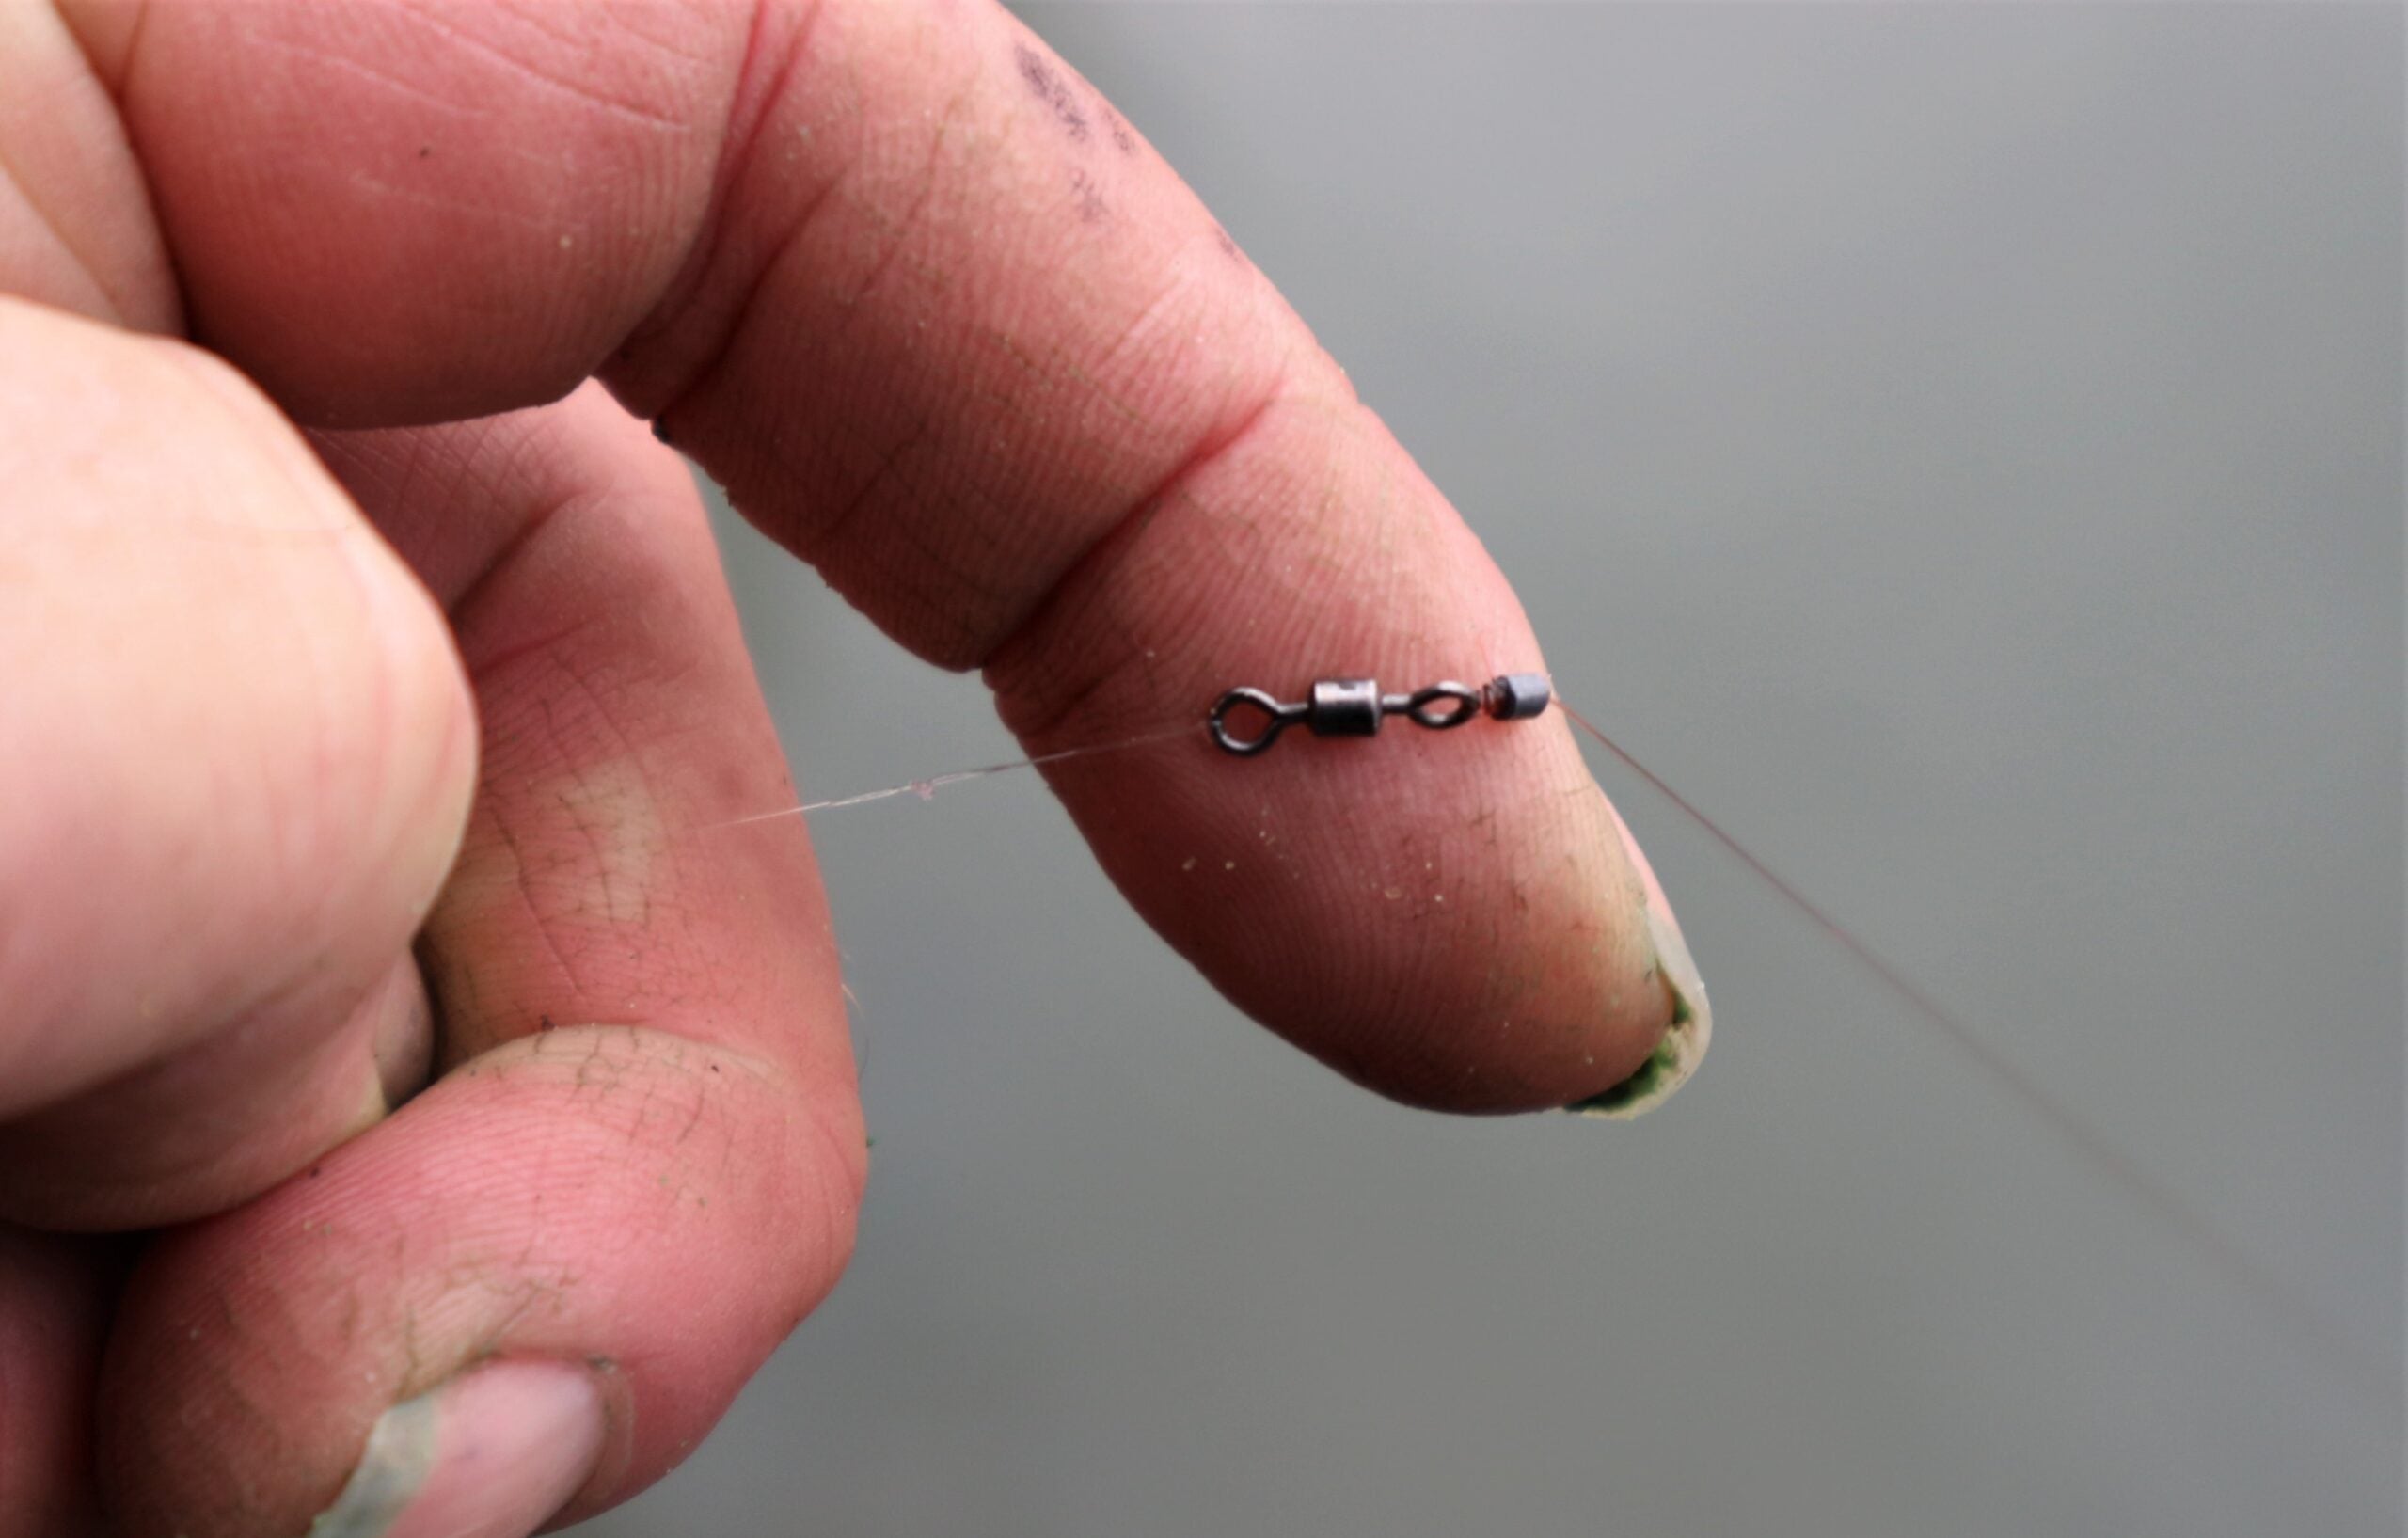
One of the most important components in a slider rig is a swivel to attach the hook length to the main line. I use at least 50cms of trace line. The swivel is on the small side, but I can always add a bit of extra weight above it, in this case only a number 9 Stotz weight because there’s little wind. This is just enough to kick the hook length out in front of the bulk shot and float, as the rig is being feathered down towards the end of the cast. I have another number 9 on the hook length by the way. In windier conditions I would switch to number 8s and add a few more above the swivel, to help prevent the end rig tangling back around the float or the bulk. The vital thing is to make sure the distance from the tell-tale shot on the hook length to the swivel, is greater than the amount of line below it to the hook. Then the distance from the swivel up to the bulk weight needs to be greater again. The swivel also prevents hook length spin.
EXPLORING FURTHER
Another lifetime ago, when I fished in the Hooked TV series over in Denmark, Ian Heaps was kind enough to give me a push in the right direction regarding slider fishing. I was dismayed to draw a birdcage of a peg, with a big tree above my head, a small channel through rush beds on either side and not enough depth for the pole. It was a nightmare attempting to cast a fixed waggler out, and after a disastrous match Ian wisely told me I should have fished a slider, which was of course his favourite method. I told him my swim was not that deep, but he said it didn’t matter because it’s possible to underarm or sideways cast a slider rig, a lot further than a fixed waggler. He was so right and since then this method has helped me cope with lots of tricky situations, also to enjoy some great catches. Stand-out ones were surprisingly catching a big net of bream fishing at mid-depth in 30 feet of water, also landing a double-figure slab taken on the drop.